ESG Management
ESG, short for "Environmental, Social, and Governance," is an abbreviation formed from the initials of these three words. It represents a set of criteria used to evaluate a company's environmental, social, and governance practices. This concept plays a significant role in enabling investors to assess businesses' non-financial performance and sustainability efforts.
Promena provides a flexible structure for managing suppliers' evaluation processes in line with ESG principles through its ESG Management module. The process flow within ESG management is divided into several stages as shared below:
· Determination of Criteria
· Determination of Periods
· Definition of Evaluation Forms, Questions, and Establishment of Scoring Structure
· Sending Forms to Suppliers
· Tracking Responses to Forms
· Reporting
Form Management
In the first stage, within the Promena system, there are parameters that the authorized buyer user needs to define in order to evaluate suppliers. To create the infrastructure for evaluation, click on the "Supplier Management" section on the left side of the screen, under the "Form Management" menu. Here, you will find buttons for "Template List," "Criteria List," and "Period List." These buttons are essential for defining the structure needed for evaluations.
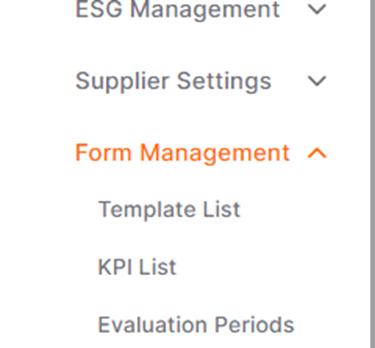
• Evaluation Periods: This page is where the periods during which suppliers will be evaluated are organized and managed.
• KPI List: This page is where the evaluation criteria for suppliers are organized and listed.

Evaluation Periods
To determine the periods during which suppliers will be evaluated, you should click on the "Add Period" button located in the top right corner of the screen. To view existing periods, you can manage them from the "Period List" page.

In the window that opens, it is mandatory to fill in the fields marked with a star (*).
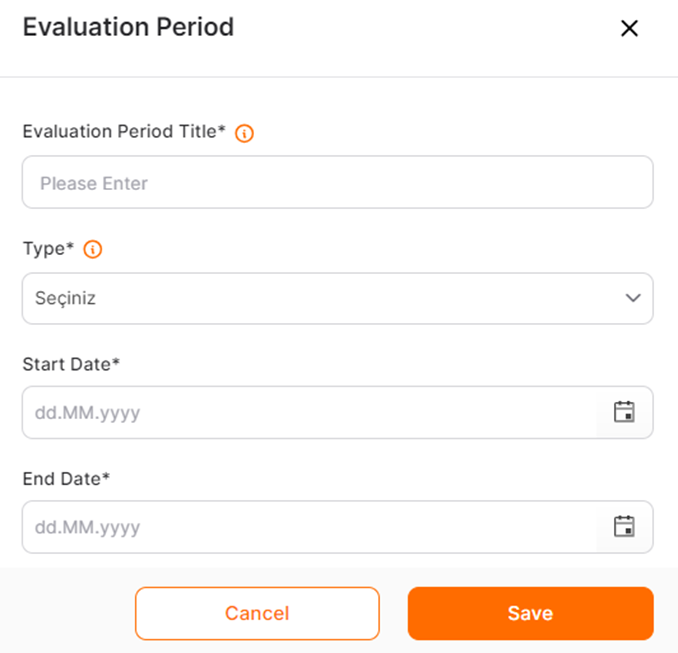
Evaluation Period Title: This is the field where the name of the period is entered.
Type: This field allows you to select the type of ESG evaluation that will be conducted during the specified period.
Start Date: This is where you select the start date of the period.
End Date: This is where you select the end date of the period.
After completing the period details, you can finalize the period definition by clicking the "Save" button. This completes the process of defining the period. All relevant periods will then be displayed under the list.

You can update by clicking on the pencil icon under the action column, or perform a delete operation with the trash can icon.
KPI List
Adding a new criterion or viewing existing criteria is done through the "Criteria List" tab.

In the opened page, you can view the list of existing criteria if they are available. To determine the criteria for evaluating suppliers, you should click on the "Create Criterion" button located in the top right corner of the screen. In the window that appears, it is mandatory to fill in the fields marked with a star (*).
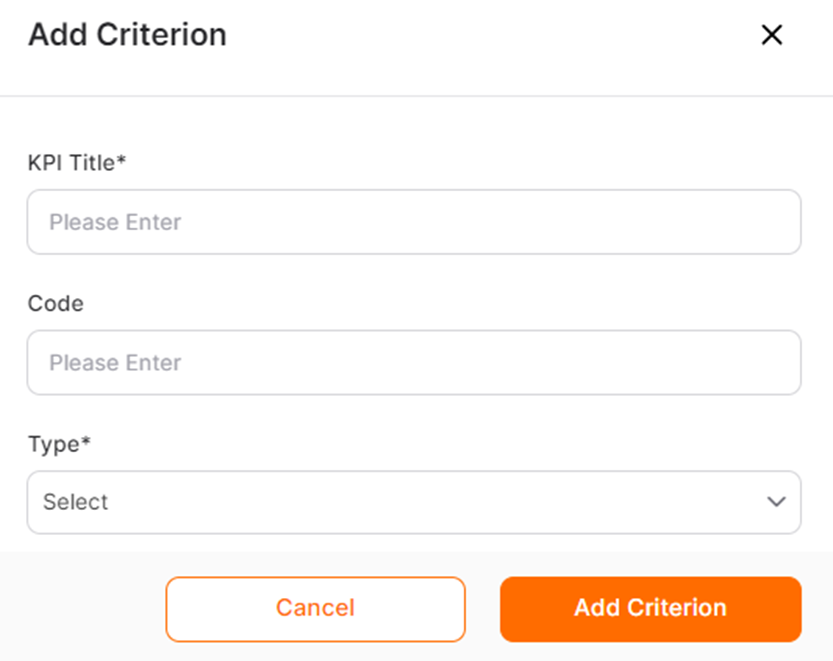
KPI Title: This field represents the name of the defined criterion.
Code: This field represents the code assigned to the criterion. It is not a mandatory field.
Type: This field allows you to select the type of ESG evaluation that will be conducted for the specified criterion.
After completing the criterion details, you can finalize the process by clicking the "Add Criterion" button. This completes the task of defining the criterion. All relevant criteria will then be displayed under the list.

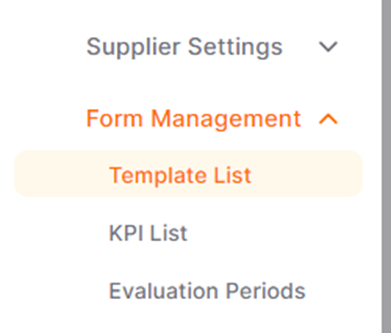
Template List
To create evaluation forms that will be used for assessing suppliers, following the addition of Period List and Criteria List under Form Management in the first step, you need to create evaluation form templates. To do this, click on the "Template List" menu under the Form Management heading on the left side of the screen. This is where you can create evaluation form templates.
Another way to access this section is to navigate to the Evaluation Form Templates area at the top of the screen while in the SPM Settings.

On the opened page, you should click on the "Create Template" button located on the right side of the screen.

In the window that opens, enter the template name and then click on the "Save and Continue" button.

In the opened "Template Information" page, the fields marked with a star (*) are mandatory and must be filled out.
Once the ESG Form Template Setup is complete, it will be listed under the Template List. You can access the Template Information page by clicking on the detail icon.
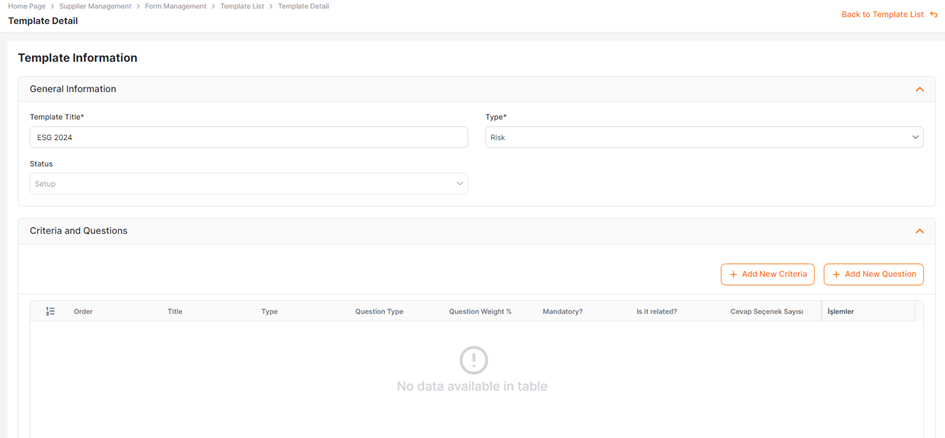
For templates that are already set up, you can modify the template name, add criteria, and add questions from this section.
Template - KPI List
To add criteria to the evaluation form template, you should click on the "Add New Criteria" button. On the page that opens, you can add criteria, and then use the "Save" button located at the bottom right to save the criteria.
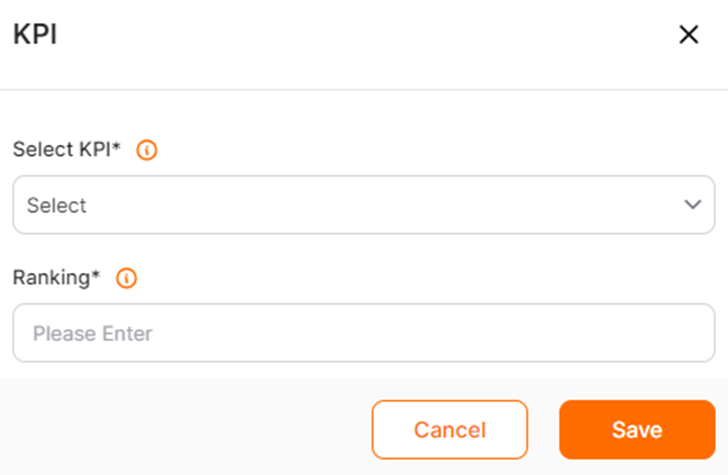
· Select KPI: This involves choosing criteria from the list of criteria registered under the Buyer's Criteria List.
· Ranking: Indicates the ordering or ranking of the criteria added to the template.

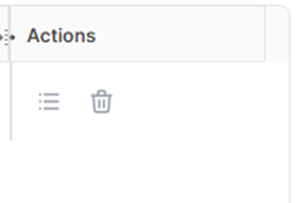
To add sub-criteria or questions under a criterion, or to view the questions and criteria within it, you should click on the "Questions" icon located under the Actions column to the right of the respective criterion. Clicking on the Questions icon opens a page where you can create lists of questions associated with the criteria.
In the opened page, you can define sub-criteria under a criterion as a further breakdown, or you can click on the "Add New Question" button to add a new question.
When you click on the "Add" button and fill out the required fields marked with a star (*), it is mandatory to complete the necessary information. After filling out the relevant details, click on the "Save and Continue" button to proceed.
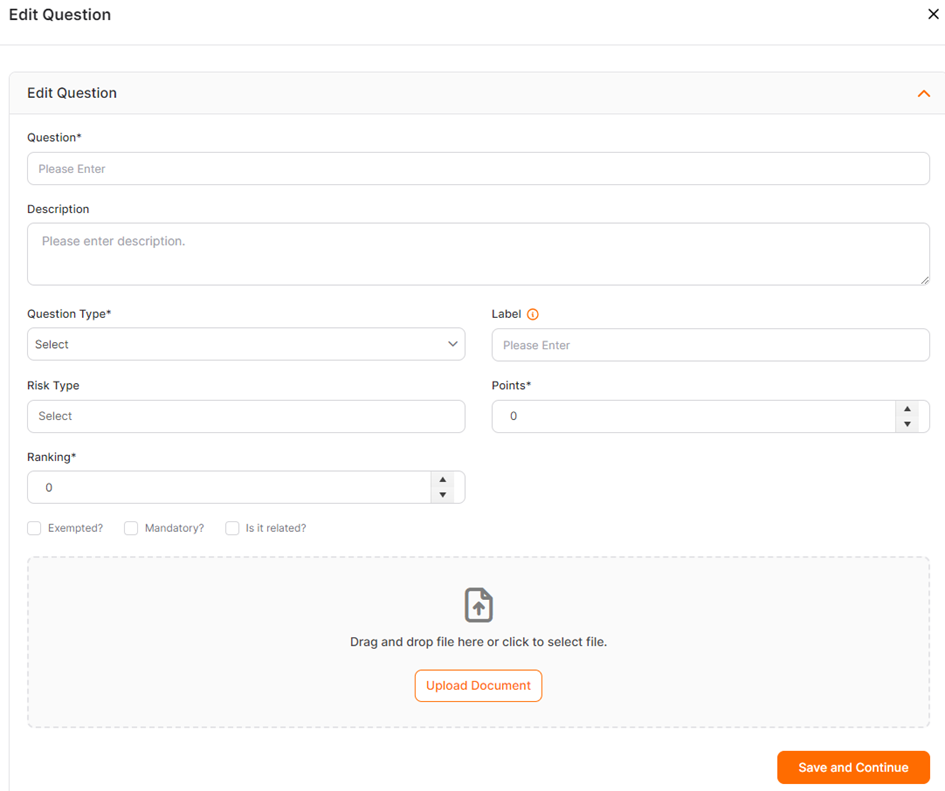
· Question: This field allows you to enter the text of the question.
· Description:This field is where you can provide additional information or clarification related to the question.
· Question Type: Indicates the structure of the answer that will be provided. Options include Multiple Choice, Single Choice, File, Date, Text, Numeric, Plain Text, Label. Only Multiple Choice and Single Choice can have scores.
· Multiple Choice: Allows selecting multiple answer options. When multiple options are selected, the score is calculated based on the weight of each selected option.Single Choice: Allows selecting a single answer option from a list defined by the user.
· Label: You can add tags to a question.
· Risk Type: Select the risk type of the question.
· Points: Enter the score for the question.
· Ranking:Questions added to the criteria will be sorted based on the value entered in this field.
· Exempted:Indicates whether the evaluator can be exempted from answering the question.
· Mandatory:Specifies whether the evaluator must provide an answer to the question.
· Is it related: If the question is related to other questions in the form, you can select this option and specify the related question.
· Choose File: This is the field where you can add files related to the question, which suppliers can view when answering the form.
After filling out the required fields and selecting the appropriate options, click on the "Save" button to save the question.
The total weights of the questions within a form should sum up to 100%.
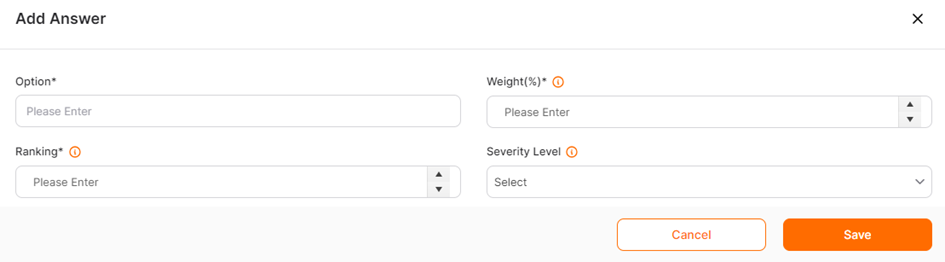
To add response options based on the question types, you need to fill out the relevant fields in the "Edit Question" section and then click "Save and Continue." After saving, you can click on the "Add Answer" button at the bottom of the page to include response options.
In the page where response options are opened, it is mandatory to fill in the fields marked with a star (*).
Answer: This is where you enter the name or description of the answer option.
Weight %: This field is used to specify the percentage score that the answer option will receive if selected.
Ranking: Indicates the sequence in which the answer option will appear within the question.
Severity Level: This field indicates the importance or severity level of the issue related to the answer option.
After defining and saving criteria, along with questions linked to these criteria, under the entire template list, the template needs to be activated for use by evaluators. This is done by clicking on the "Activate" icon under the Actions menu in the Template List menu. This action makes the template ready for use.
