Catalog Management
Create Catalog
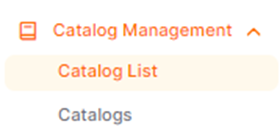
To create a catalog, you need to click the Catalog List button under the Catalog Management menu.
On the opened page, fill in the fields for Catalog Code, Catalog Name, Effective Date, Expiration Date, and Authorized Person. Mark the catalog status as Active and click the Save buttonto create the catalog.
The Effective Date of a catalog can be set to the current day at the earliest.
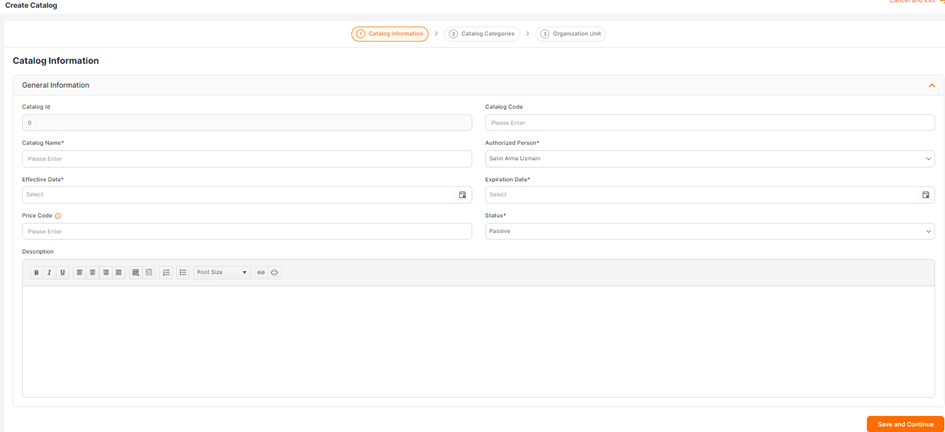
The information in the created catalog can be updated through the General Information page. When there is one month left until the catalog's end date, an informational email is sent to the designated catalog authority via the system from Authorized Person field.
Adding Products into Catalogs and Catalog Management
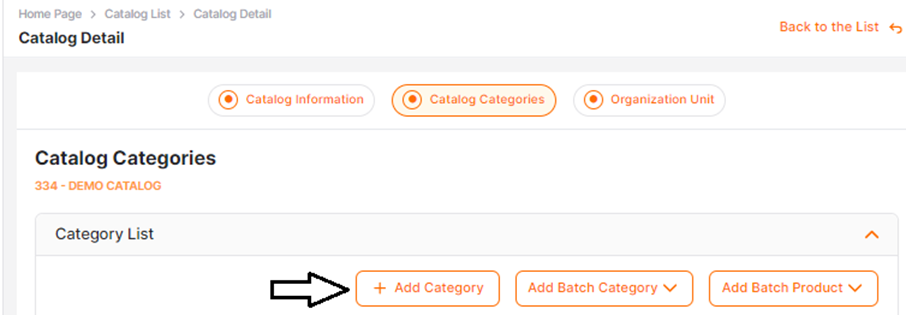
Adjustments to the products included in the catalog and the catalog structure can be made through the Catalog Categories menu. Since catalogs are grouped by categories, a subcategory must be defined first to add a product. The category information to be defined underneath should first be selected from the Category Tree section. After making the selection, enter the Category Name and Category Code for the subcategory to be defined, and click the Add New Category button.
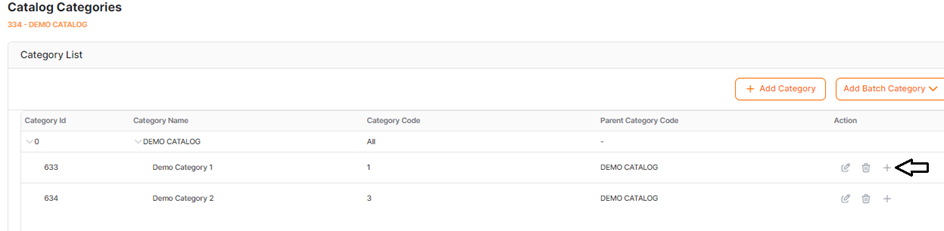
Products can be added to the defined sub-categories. To add a new product, select the category where you want to add the product from the Category List and click the Add button.
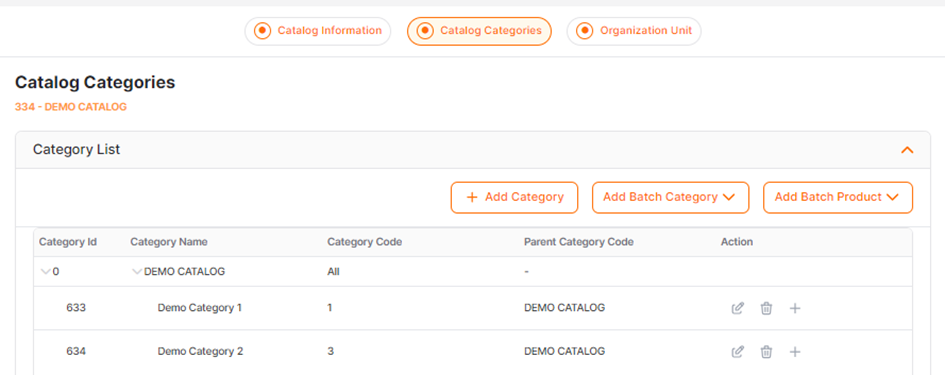
Note: When defining a catalog, no additions can be made to the first row in the Category List.
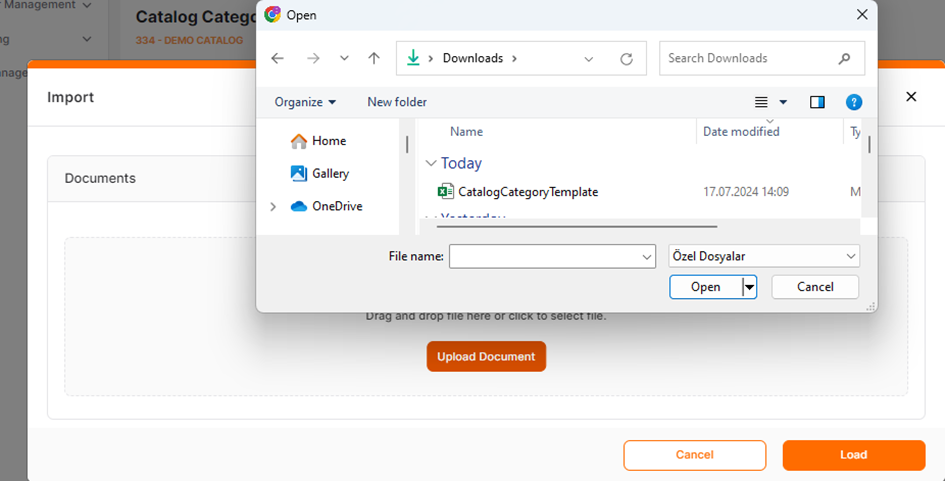
To perform batch category addition, click the Download Template button under the Add Batch Category section to download and fill out the Excel template.
The filled Excel template can be uploaded to the system using the Import method, which will perform a batch category import.
To add a product to the catalog, click the + button under the Actions column in the Catalog List section. In the opened window, click the Add Product button located at the top right.
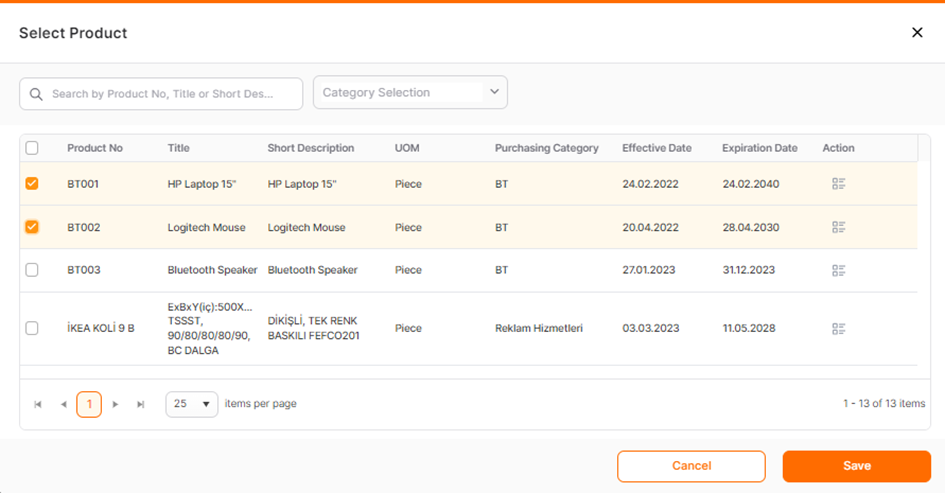
In the opened window, select the products you want to add by checking the checkboxes at the beginning of the rows, and then click the Save button.
To remove a product from the catalog, select the sub-category containing the product, check the checkbox at the beginning of the row for the product you want to remove in the product list area, and then click the Remove Selected button located at the bottom left of the screen to confirm.
To assign catalogs to organizational units:
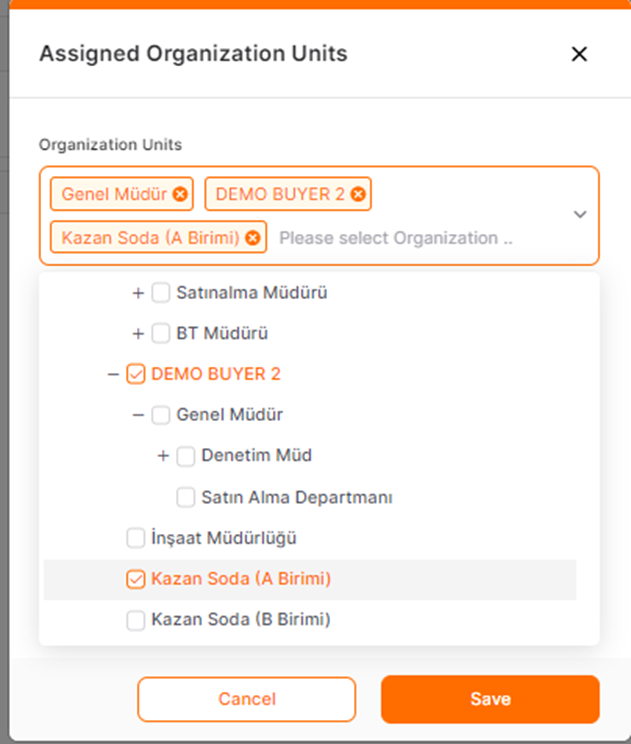
After adding products to the catalog, click the Continue button. In the Organizational Units step, select the organizational units that should have access to view the catalog.
Click the Add Organizational Unit buttonat the top right of the screen, and in the window that opens, select the organizational units that should have access to the catalog and click the Save button.
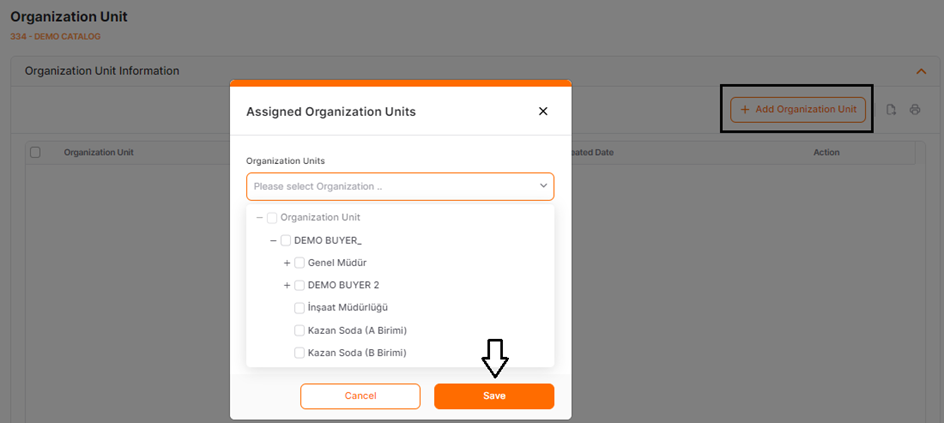
It is possible to select one or more organizational units in this area.
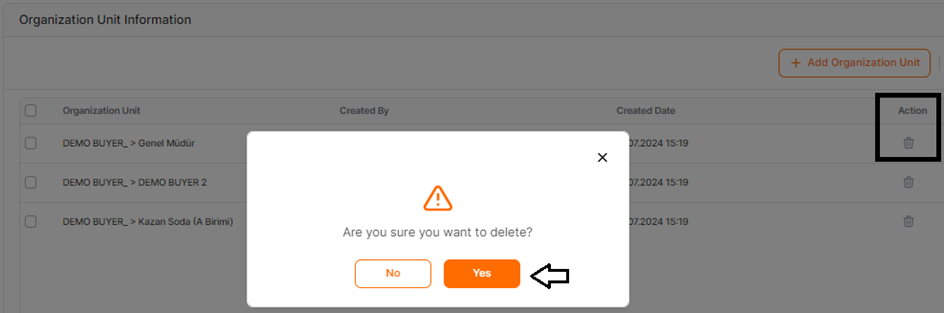
To remove organizational units that should not have access to the catalog, click the “Trash Bin icon” under the Actions column and confirm the removal.
Catalog List
To view all catalogs defined within the company, click on the Catalog List menu under Catalog Management.
To access the catalog details, click the File icon under the Actions column. Catalog addition can also be done by clicking Create Catalog button.
