Create a CAPA
A Corrective Action is taken to eliminate the cause of a detected nonconformity or undesirable situation, while a Preventive Action is taken to eliminate the cause of a potential nonconformity or undesirable potential situation. Preventive actions are implemented to prevent occurrence, whereas corrective actions are taken to prevent recurrence.
Authorized users from the buying company can create corrective and preventive actions (CAPAs) on the Promena Platform. To create a CAPA, navigate to the "CAPA List" under the "Action Management" menu located under the "Supplier Management" heading on the left side of the screen.

Proceed by selecting "Create CAPA" in the opened window.

In the next page;
·Title: It is the title of the activity subject. In the relevant defined title on the listing screens and e-mail announcements
· Description: This is the field where the information to be announced regarding the activity is entered.
· Type: Indicates the type of the activity for what purpose it was created. It is selected from three types of systems: Corrective, Preventive, and Suggestion.
· CAPA Reason: The root cause is selected in order to eliminate the nonconformity or not to repeat it.
o Audit Finding
o Quality Mismatch
o Performance Evaluation Result
o Delivery Mismatch
o Development Activity
o OHS / Environmental Incompatibility
o Customer Dissatisfaction
o Other
· Purchasing Category: Selection is made from the category list registered under the buyer company of the activity.
· Supplier: The relevant supplier is selected for the activity.
· Supplier User: Selection is made from the user list where the supplier is registered in the system.
· CAPA Person Responsible: Selected automatically.
Reference No: It is the field where reference number can be entered for the relevant document.
Expected Completion Date: It refers to the last expected completion date of the activity.
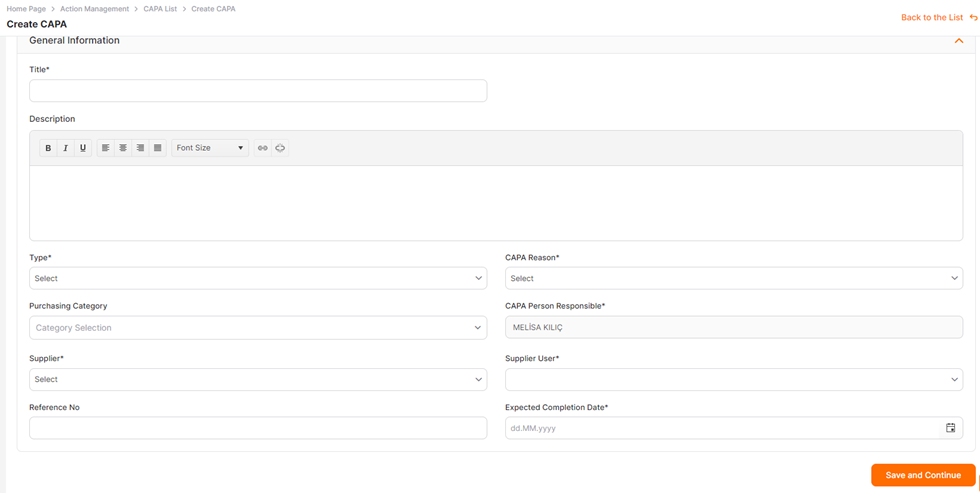
Fields marked with a star (*) are mandatory and must be filled out. After completing these fields, click the "Save and Continue" button to create the CAPA in the Installation status and redirect to the user detail page.