(Buyer) Create Quick RFQ – Line Items
Create Quick RFQ – Line Items
To proceed to the Line Item List step, the relevant areas must be filled in the "Event Settings" step and the next button must be clicked.

In the Line Item List page, the item structure is automatically generated based on the selection made in the "Template"area of the "Quick RFQ Information" page. To create a Product in the ready-made item structure, the "Select Product, Add Product and Line Item Import" buttons are used.
The "Select Product" button is used to select from the list of products defined in the system, while the "Add Product" button is used to enter a product from scratch.
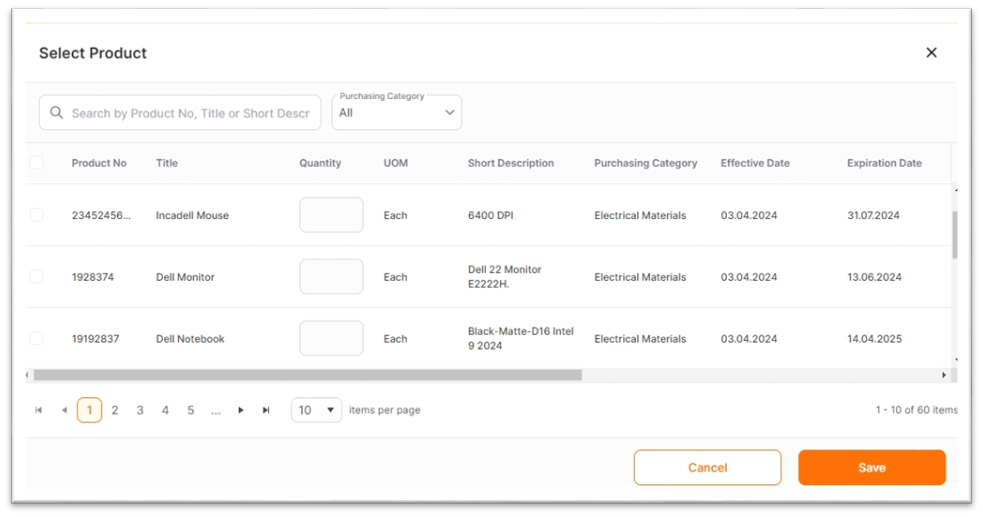
When you click on the "Select Product"button, the list of pre-existing products defined for your company is displayed. You can search by product number, title, or short description in the search area, or list the products related to the relevant category according to your company category structure from the purchasing category area.
- To add the product to the event, you need to select the relevant product and update the quantity area. When you click the "Save"button, the relevant item will be added to the event.
- You can click the "Cancel" button to exit without saving the changes.
When you click the "Add Product" button; a new screen will open for creating a product from scratch.
In the relevant area, entry is mandatory for all standard areas. To save the created product, click the Save icon. You can click the "Cancel"button to exit without saving the changes.
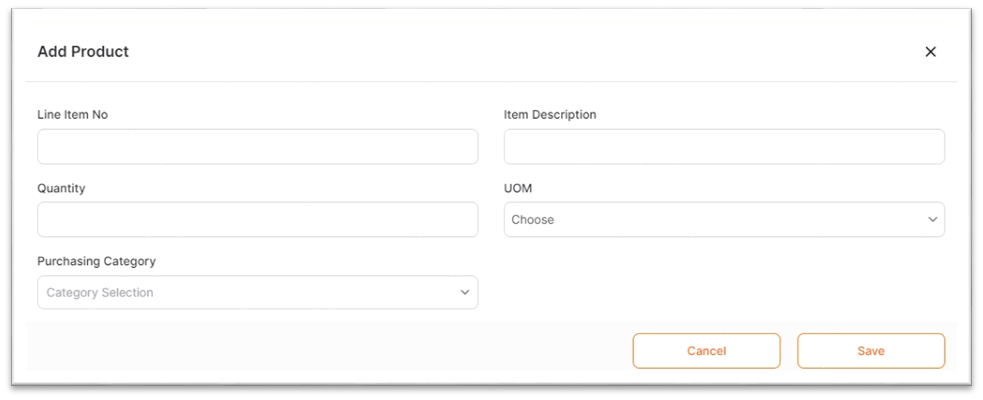
Line Item Number area: Allows up to 25 characters of text and numbers input.
Item Description: Allows up to 150 characters of text and numbers input.
Quantity Area is for numeric input. It allows two-digit decimal input based on units of measurement like liters, kilograms however, for units like pieces, vehicles, etc., decimal input is not allowed; only integer input is accepted.
To enter the Purchasing Category area, click the + button, and select from the company category tree, and click the OK button.
If there are Buyer Areas coming from the template, entries should be made according to the need.
All created products can be modified, copied, or deleted during the setup state.
To edit a created product item, click on the "Edit"icon under the actions section. After making changes, the save icon should be clicked. Only the quantity area can be revised for selected products from the product list.
For the copying event, click the "Copy"icon under the actions column, revise the areas, and click the save icon.
For deletion, click the "Delete" icon under the actions column.
To delete multiple or all items at once, select the items and click the "Remove Selected" button.

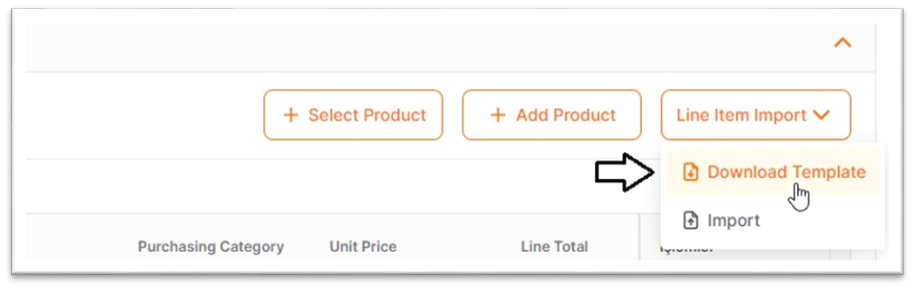
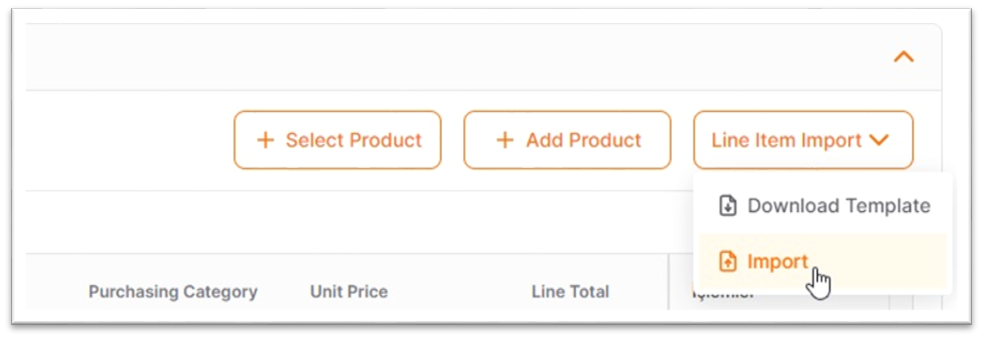
When you click on the Line Item Import button; the Download Template and Import buttons will appear.
When the Download Template button is clicked, the Item Template excel file is downloaded.
The areas marked in red are mandatory areas that must be filled out. After the relevant items are filled out, the file should be saved.
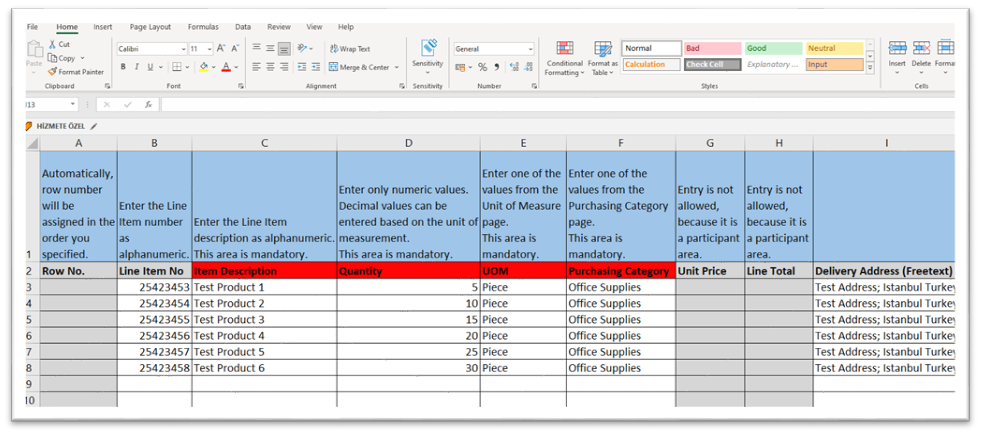
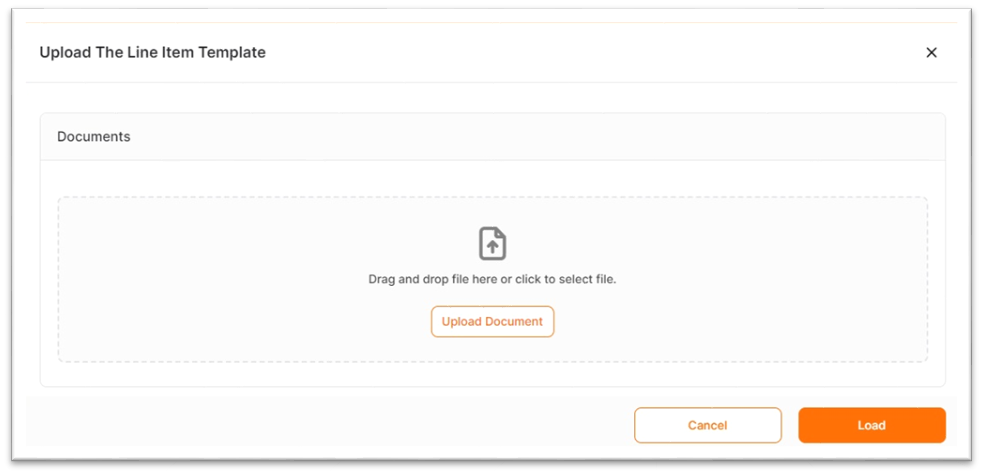
By clicking the "Import" button, the saved file is imported into the system.
The Excel file can be uploaded either by selecting the file or by using the drag-and-drop method.
After the products are imported into the system using the Line Item Import method, they are displayed in the Line Item List area.
To delete, click the "Delete" icon in the actions column.
To delete multiple items or all items at once, select the items and click the "Remove Selected" button.
The Continue button is used to proceed to the next step. To switch between completed steps, you can click on the title of the relevant step in the "Steps Line."