Creating a PO by using REQ
Creating a purchase order from the catalog can be done from the company-defined catalog list based on the user's permissions.
To create an purchase order from a request, click on the Request Managementmenu located under the Requests(REQs) heading in the left menu.
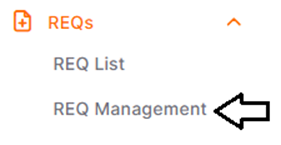
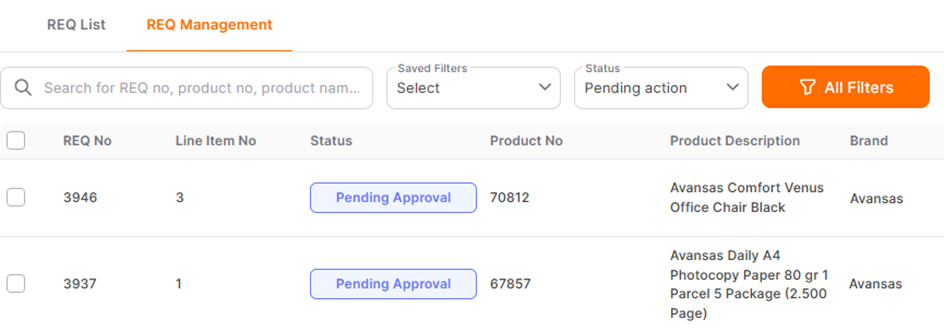
Under the Request Management menu, requests in the "Pending Approval" status are displayed. From requests in the " Pending Approval " status, purchase orders can be created.
On the opened page, requests that are in the Pending Action status, where no action has been taken yet, are listed by default.

Requests for which a Quick RFQ or Purchase Order has been created can be viewed in the Processedstatus. Canceled requests are listed in the Canceled status.
By clicking the All Filters button on the right section of the filterrow, detailed filtering can be done to access the desired requests.
To create a different filter and display this filter, add and organize the statuses in the "All Filters" area then click the "Show Results" button. To save the created filter, click the "Create New Filter" icon.
Previously created and saved filters can be selected from the "Saved Filters" area.
To search for a request by its request number or request title, use the search area located in the top left corner of the screen.
To create an order from a request, check the box at the beginning of the row of any filtered or displayed request, and then click the Order Setupbutton.
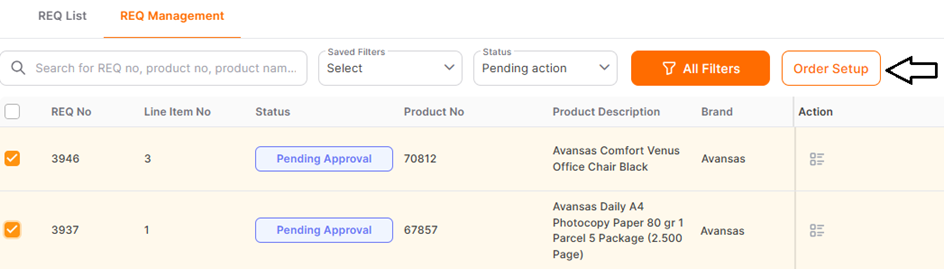
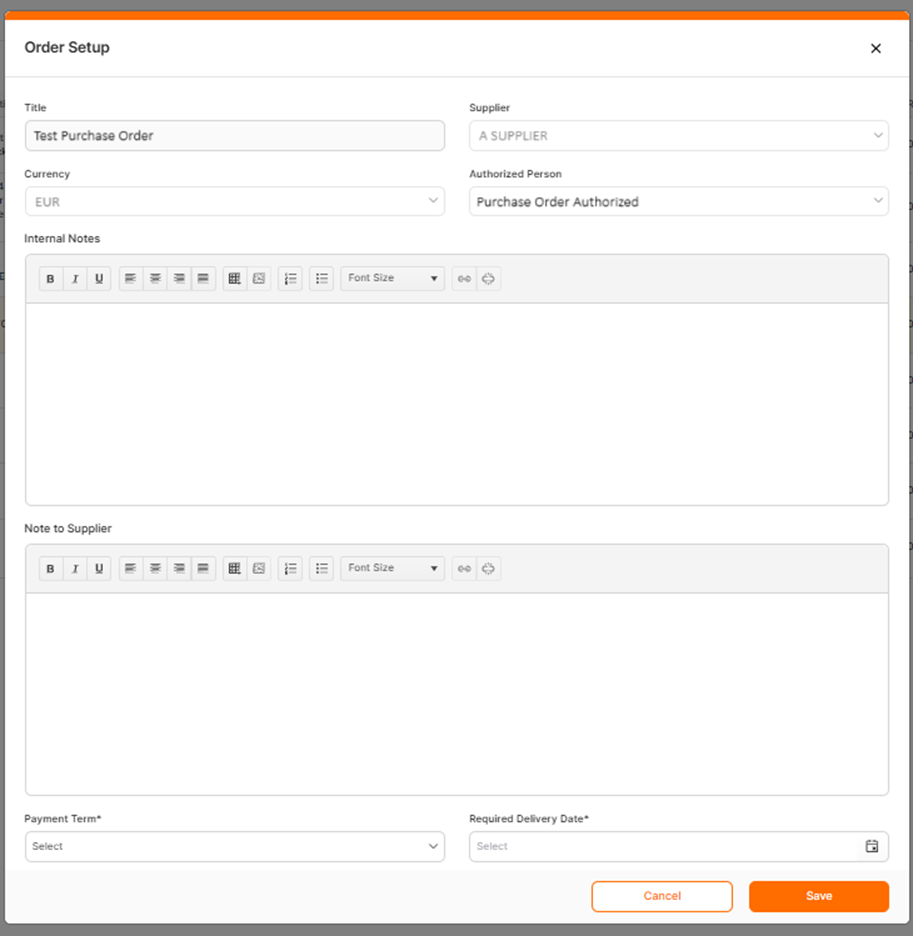
In the window that opens:
· Title: This area displays the name of the request for which the purchase order is being created. It automatically reflects this information. After creating the purchase order, changes can be made through the General Information page. If multiple requests are selected, this area allows manual editing within the window.
· Supplier: This is the area where the supplier to whom the purchase order will be sent is selected. If a defined price for the selected product in the request items exists, the supplier selection is automatically reflected.
· Currency: This area reflects the currency information if available in the request items. For requests without price and currency entry, selection can be made during the purchase order stage.
· Authorized Person: This area automatically reflects the information of the user who created the purchase order.
Note: If you want to change the purchase order's authorized user, select the new user from the "Authorized Person" area on the Order Information page and click the "Save" button.
· Internal Notes: This is a non-mandatory area where notes can be entered that are visible only to users with access to view the purchase order within the buyer company.
· Note to Supplier: This is a non-mandatory area where notes intended for the supplier can be added.
Clicking the Save button creates the purchase order in the Setup status.
After the purchase order is saved, it is assigned a number automatically generated by the system. To directly access the purchase order, you can click on the provided link.

On the page that opens, four detailed menus related to the purchase order can be viewed.

· Order Information Page; the details of the created purchase order can be viewed, and changes can be made to the purchase order while it is in the Setupstatus.
· Purchase Order Items: The items in the purchase order can be viewed in the Item List page on the Order Setup step.
By clicking on the Item(Edit) icon under the Action column, quantity of the item, bill to address, and payment term can be updated.
By clicking the Calculate Savings icon, savings calculations can be performed.
By clicking the Delete icon, items in the list can be removed.

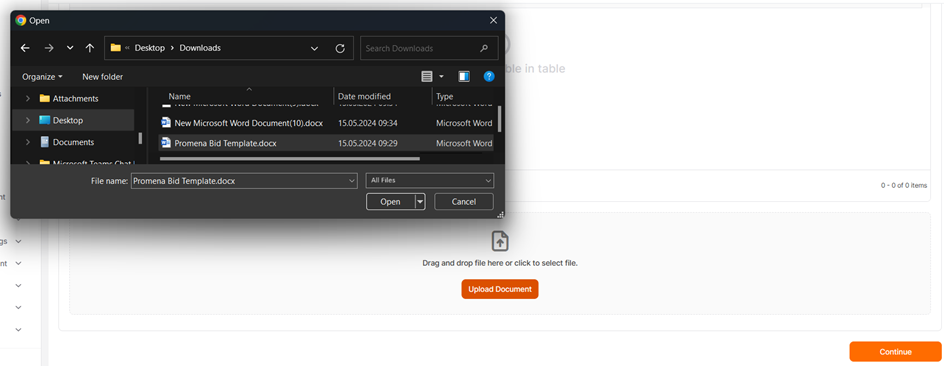
To add a document to the purchase order, open the Documents section, click on the Upload Document button, choose the necessary document from your computer, and confirm the selection.
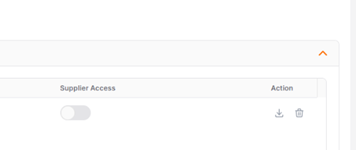
The name of the uploaded document, the upload date, and the name of the authorized person who uploaded it can be accessed. To delete the uploaded document, click on the bin icon. To download the document to the computer, click on the downloadicon. Whether the document can be viewed by suppliers can be decided by enable/disablethe button in the Supplier Access column. If enable, suppliers can view the documents; if disable, suppliers cannot view the documents.
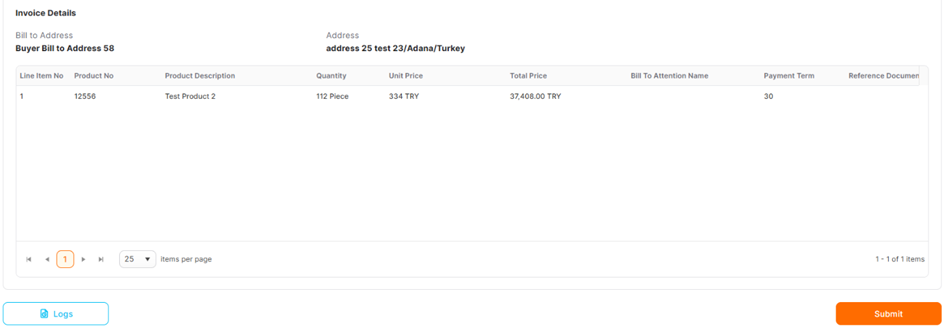
In the Summary step, the information created within the purchase order can be viewed in general. By clicking the Submit button at the bottom of the page, the purchase order can be sent for the necessary approval stages.
Note: Purchase orders that remain in the Setup status can only be viewed by the user who created the purchase order and if it includes an approval chain, it means it has not been sent for approval stage in any way. The purchase order status must be advanced by clicking the Submit button in the Summary menu.
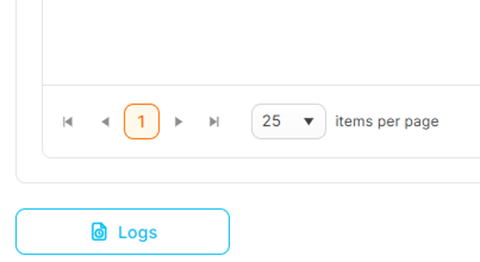
There are two ways to access the Log page. The first is by clicking the Logsbutton located at the bottom left of the Purchase Order Summary page;
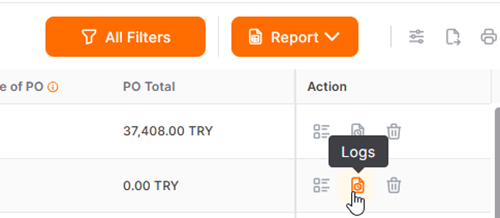
The second is by clicking the Logs icon under the Action column in the Purchase Order List area.
From the Logs page, you can view the types of actions taken on the purchase order and their timestamps. The names of the authorized who approved the relevant purchase orders and the approval date information can also be viewed from this area.
