Creating a Requisition from a Catalog
1. Creating a REQ
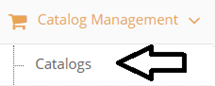
Click to the Catalogs menu below the Catalog Management title that is located at the left-hand side of the screen to list the catalogs to create a REQ order from.
The users can access to the catalogs that they are allowed to view and the products added to them in Catalogs menu.
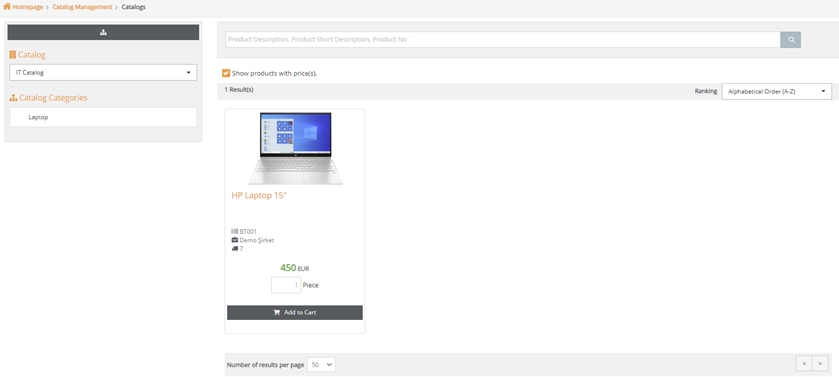
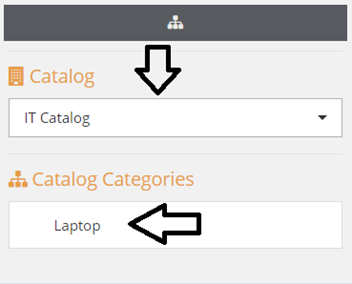
To select a catalog, click the dropdown menu below Catalog title and to choose a catalog category, click the category located in Catalog Categories area.
By typing the exact amount for the product that needs to be ordered and then clicking Add to Cart button will add the products to the cart.
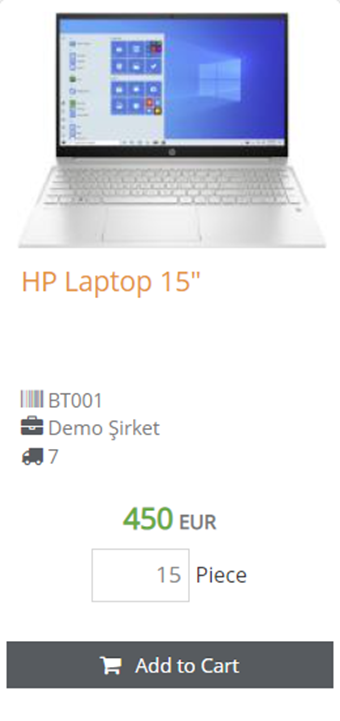
Click the cart icon located at the top right corner of the screen to view the products that was added to the cart.

In the new page the products added to the cart will be listed. To order the products, click to the boxes to select and click Create REQ button.

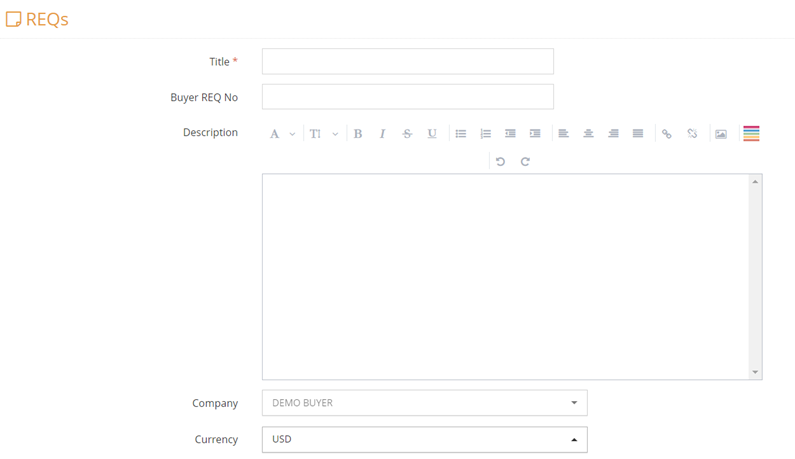
In the new page the required rows with red asterisk has to be filled. The areas that you will come across with;
· Title: The row where the title of the requisition is entered that is mandatorily
· Buyer REQ No: The row where a REQ code is added related to the buyer’s ERP system in a case where there is an integration between Promena and buyer’s third-party programs. This row is not mandatory.
· Description: The row where the descriptions related to the requisition is entered. A picture, link or a text can be added and texts can be formatted in desired way.
· Company: The row where the company information of the requisitioner is being displayed automatically.
· Currency: The row where a currency that the buyer works with are listed. The default currency will be automatically selected any other currency in the list can be chosen.
· Department: The row where the organization unit of the requisitioner is being displayed.
· Cost Center: The row where the cost center of the requisition is being selected. If there is at least one cost center existing, this filed becomes mandatory.
· Note to Supplier: The area where notes that the supplier has to view related to the requisition is added.
· Delivery Address: The row where the delivery address is selected. If the requisitioner has only one address added to their organization unit, the option will be automatically selected.
· Ship to Attention Name: Non-mandatory area where the ship to attention name is noted.
· Bill to Address: Mandatory area where the bill to address is being selected.
· Bill To Attention Name: Non-mandatory area where the bill to attention name is added.
· Required Delivery Date: Mandatory area where the desired delivery date is added.
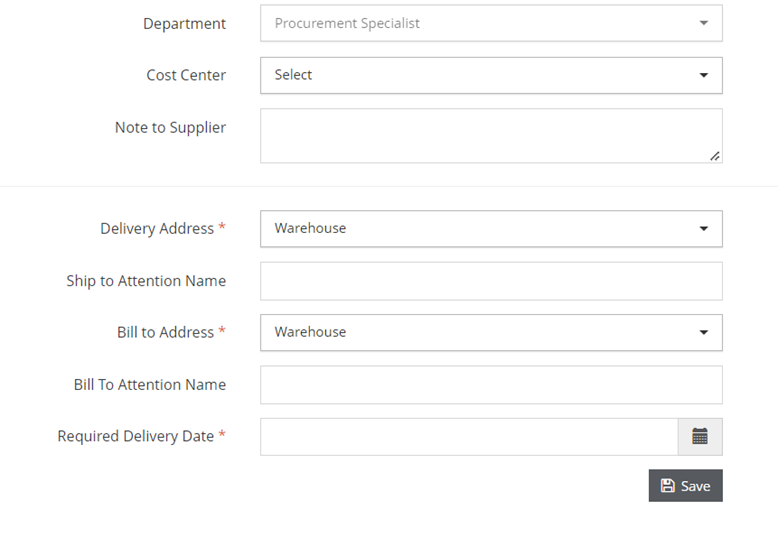
After filling the necessary areas clicking Save button will create the requisition in Setup status. In the new page there will be five different menu related to the requisition.
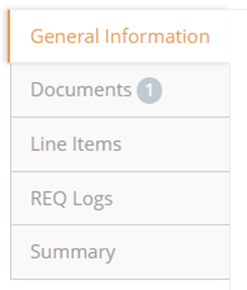
In the new page, the details of the requisition could be viewed through General Information page and changes can be made while the requisition is in Setup status.
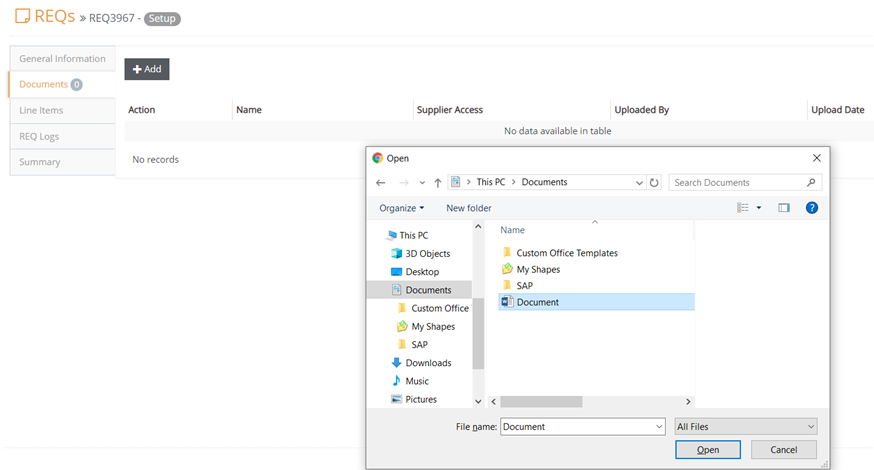
To add a document, you can click the Add button in Documents menu and choose the document that needs to be uploaded.
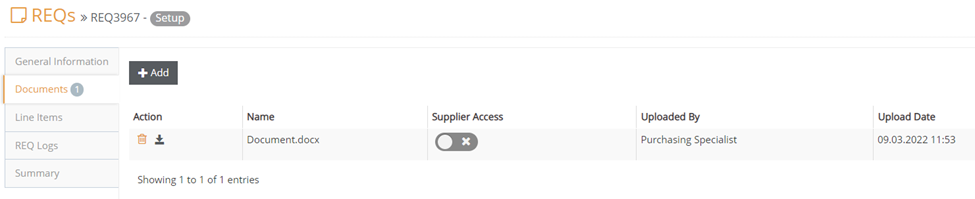
The title, upload date and the official who has uploaded the document can be viewed. To delete document that was uploaded, click the trash can icon and click to download icon to download a document. To let suppliers see the documents uploaded or not, click the button located below Supplier Access column. active /passive. If active, the suppliers can view the documents, if passive, suppliers cannot view the documents.
Item Lines page allows users to change information in the items by clicking to the pen iconlocated at the beginning of each row and saving after making necessary changes. If the any of the items needs to be removed from the REQ, click the trash can icon.

To view the log types and procedure dates, click to REQ Logs. The users who approve or reject the REQ will also be listed with the notes if entered and the dates that the either approval or rejection has been given.

The details of the created REQ could be viewed through Summary menu and to send the REQ to approval workflow, Submitbutton should be clicked.
Note: The REQs that are in Setup statuses will only be viewed by the user who initially created the REQ and those REQs will not be send to the approval of the other users. The Submit button in the Summary menu must be clicked if this process is required to be proceeded.
2. REQ List
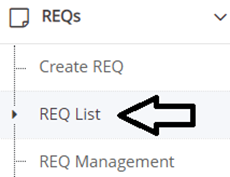
To view the list of the REQs created click the REQ List below REQs menu.
In REQ List Menu, requisitions that the user and the other users who shares the same organization unit has created could be displayed.
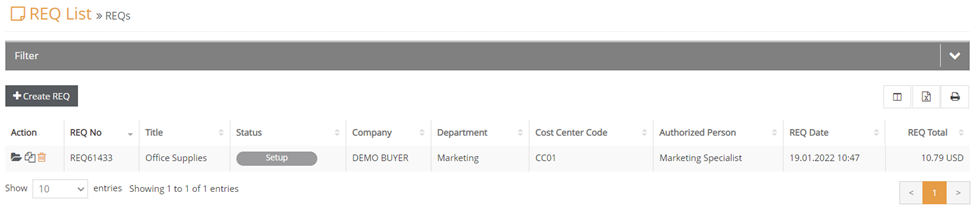
The arrow icon located where the Filter is, allows users to access particular REQs.
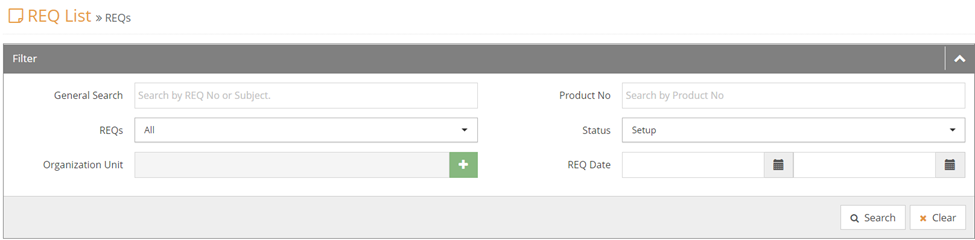
The REQ that needs to be displayed can be listed by clicking to Search buttonthrough its REQ title, ID or any item that is added in the REQ. Viewing details, copying and deleting a REQ can be done by the icons below the Actions column.
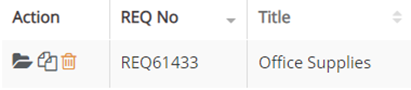
Click the Details icon below Actions column in order to access the details of a REQ.
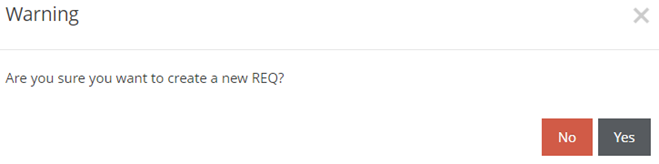
Click the Copy icon in order to copy an existing REQ to create with the same details and confirm the warning that will be displayed in a pop-up. After confirming, the details of the new REQ will be automatically opened in a new page.

Click the delete icon and confirm the warning to delete a REQ inSetup status.
To cancel a REQ in Pending Approval or Sent to Procurement statuses, click the cancel button and confirm the warning.
3. Approval/Rejection of a REQ
The users with REQ Approval roles can access the REQs that are waiting for an action by clicking the Pending Tasks menu located at the top right corner of the page.


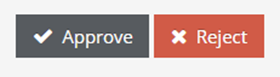
Click the file icon to view the details of any REQ listed. To approve a REQ, click the tick button and to decline a REQ, click to cross icon.
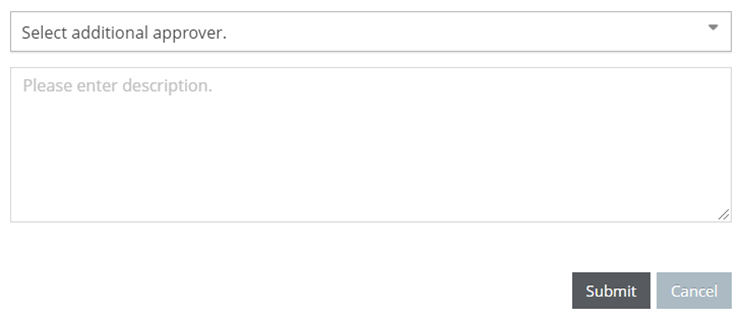
After clicking the tick icon to approve a REQ, a pop-up will be displayed which will allow the user to add an additional approver and add a description.
Note: Choosing an additional approver is not mandatory. Adding a note is possible without choosing an additional approver.
Approval and rejection can be done through the Summary page of a REQ with the Approveand Reject buttons.