Product Identification
Create a Product From Scratch
Products can be defined in the system for use in Request for Quote (RFQ) - Tender or Quick RFQ - E-Tender processes. Products can be defined either manually one by one or through bulk import via Excel.

Product Information is the first step in creating a product.

On the opened page:
· Product No: Enter the product code.
· Title: Enter the product title (Maximum 100 characters limit).
· Product Description: Enter a brief description of the product (Maximum 100 characters limit).
· Purchasing Category: Click the + button next to the Purchase Category field to select the product’s Purchase Category. The list of purchase categories assigned to the organization unit the user belongs to will be displayed.
· Effective Date: Select the start date for the product’s validity. A validity date earlier than the current date cannot be entered.
· Expiration Date: Select the end date for the product’s validity.
· Description: Enter a detailed description of the product.

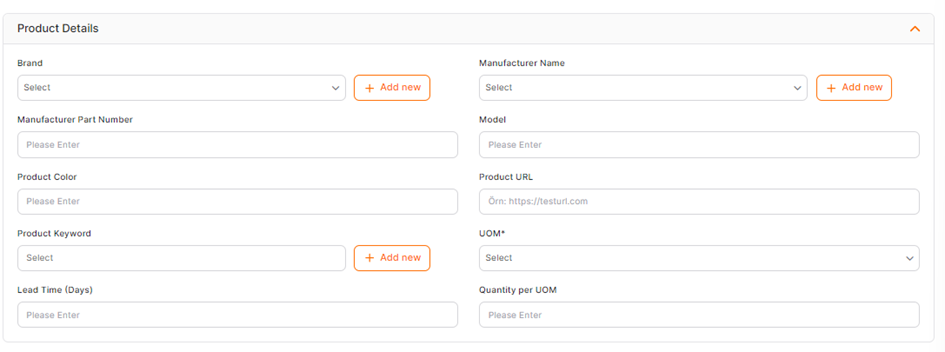
· Brand: Select the product brand information. (The Brand field is optional.) To add a new brand, enter the relevant information in the New Brand field next to the Brand field and click the + Add New button.
· Manufacturer Name: Select the Manufacturer Name information. (The Manufacturer Name field is optional.) To add a new manufacturer name, enter the relevant information in the New Manufacturer Name field next to the Manufacturer Name field and click the + Add New button.
· Manufacturer Part Number: Enter the Manufacturer Part No information (Max 25 characters).
· Model: Enter the product model information (Max 25 characters).
· Product Color: Enter the product color information (Max 25 characters).
· Product URL: Enter the product URL.
· Product Keyword: Select the Search Keywords information. (The Search Keywords field is optional.) To add a new search keyword, enter the relevant information in the New Search Keyword field next to the Search Keywords field and click the + Add New button. Products with added keywords can be searched from the search section on the Catalogs page.
· UOM (Unit of Measure): Select the unit of measure. (The Unit of Measure field is optional.)
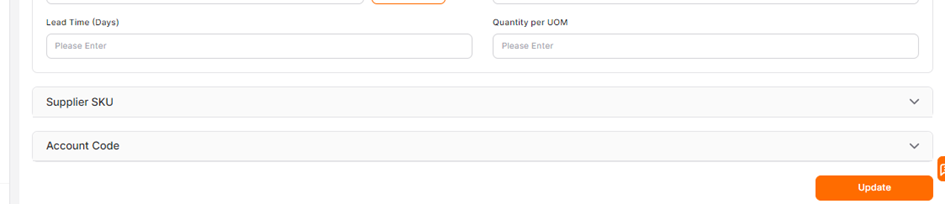
· Lead Time (Days): Enter the delivery time information.
· Quantity per UOM: Enter the quantity of products per unit of measure.
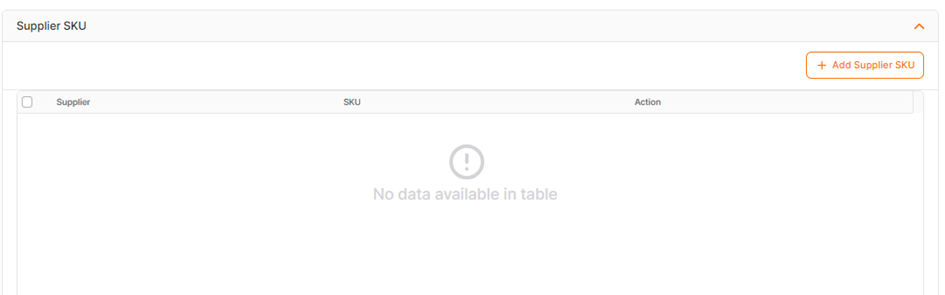
· Supplier SKU: By clicking the Add button, the Supplier is selected, and the Supplier SKU information for the product is entered. (Multiple Supplier SKU details can be added for a single product.) To save, click the “Add Supplier SKU” button; to cancel, click the “Cancel” button.
If you want to delete the added Supplier SKU information, select the relevant row and click the “Remove Selected” button. To delete all selected rows, make a bulk selection and click the “Remove Selected” button.
· Account Code: Click the Add button to select the account code. (Multiple Account Code details can be added for a single product.) To save, click the Add Account Code button; to cancel, click the Cancel button.
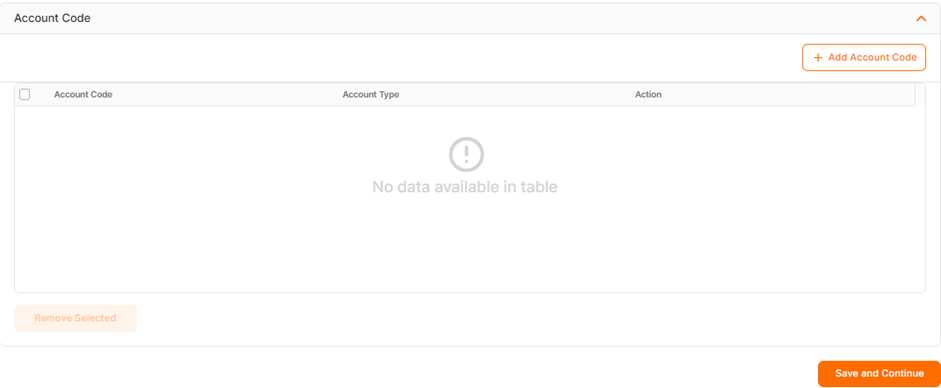
After filling in the information, click the “Save and Continue” button at the bottom of the page.
Clicking the “Save and Continue” button will take you to the “Product Prices” step.

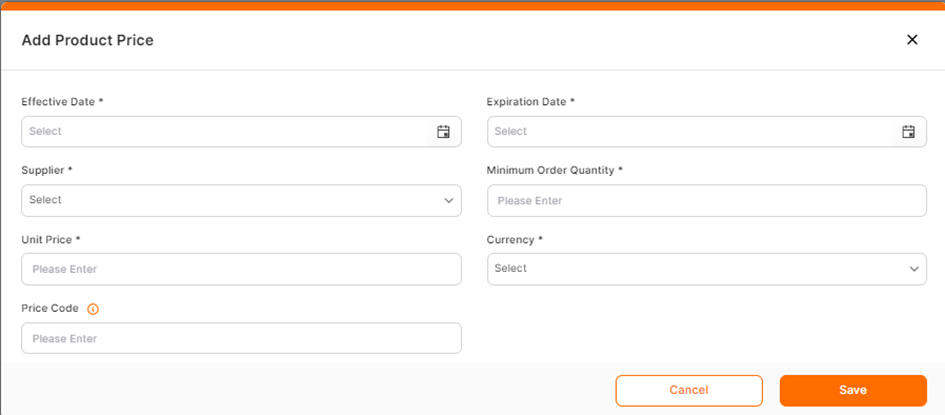
To add a price to the product, click the “Add New Price” button.
· Effective Date: Select the start date for the product price list; an earlier date than the day of the operation cannot be entered.
· Expiration Date: The end date for the product price information.
· Supplier: The supplier associated with the price.
· Minimum Order Quantity: The minimum number of products that can be ordered in a single order.
· Unit Price: The amount set for the product.
· Currency: Indicates the currency for the amount set for the product.
· Price Code: Ensures that products added to the catalog match prices with the same price code.
To proceed to the Product Images step, click the “Save and Continue” button.
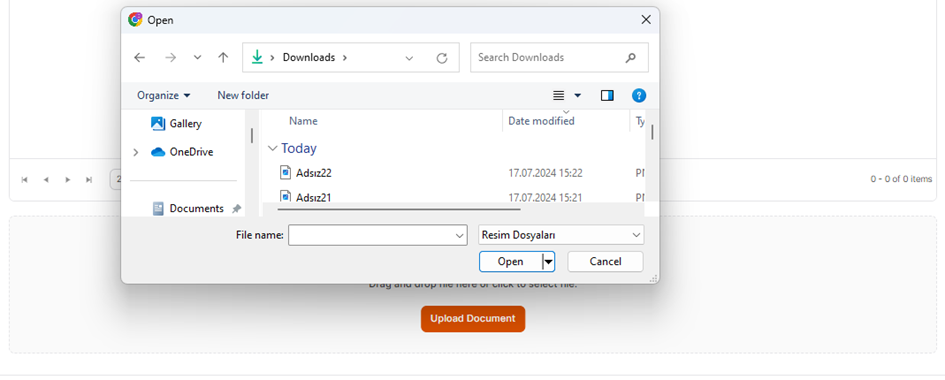
The final step to add a product is the “Product Images” step. To add an image to the product, you can use either the drag-and-drop method or the file selection method.
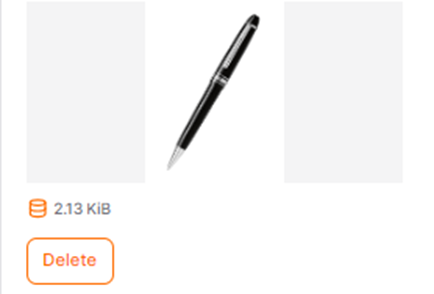
To delete an image of the product, click the “Delete” button located under the image.
Changes to the product information can be made on the Product Information page of the product details. After updating the desired information, click the “Update” button at the bottom of the page.
Adding Products via Excel Import
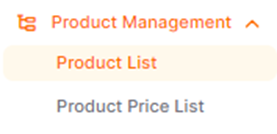
To import multiple products into the system at once, click on the Product Management menu on the left side of the screen and then select Product List.
On the opened page, click on the Add Batch Product button and select Download Template to download the Excel template for bulk product import.

On the downloaded template, rows for columns marked in red, such as Product No, Title, and Short Description, must be filled out as mandatory. Fields such as Detailed Description, Brand, and Manufacturer Name are optional and can be filled out as needed.

Purchasing Categories, Units of Measure, and Account Codes for the buyer must be filled out using the relevant code information provided in the template. Reference details for each piece of information can be found on the respective sheets in the Excel template.

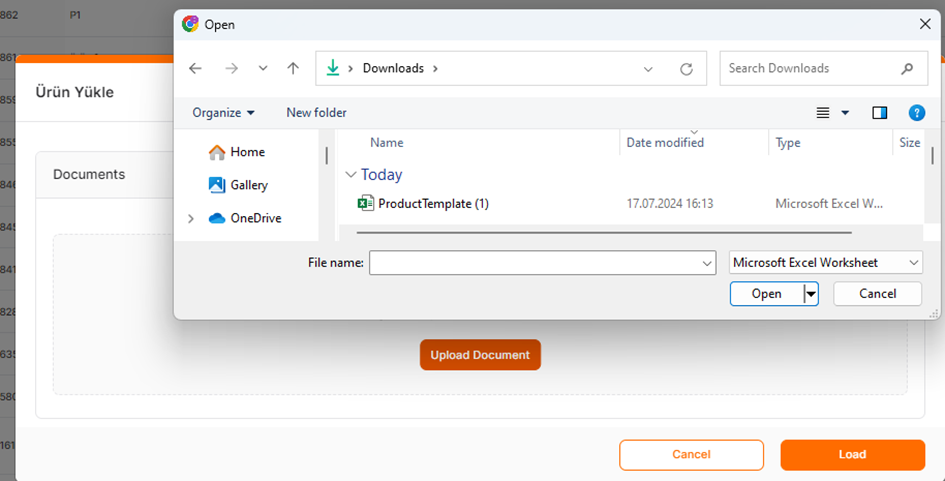
After filling out the template, to import it into the system, click on the Import button under the Export menu in the Product List and select Import.
Once the template is successfully imported into the system, you can access the product details through the Product List menu.