Registering a Supplier - Manually
To register your suppliers in the Promena system, you can manually enter the necessary information to complete the registration.
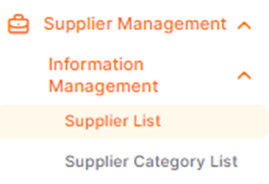
Suppliers you wish to register can be added to your supplier list manually, in addition to using a registration link. To perform this operation, click the Information Management button under the Supplier Management menu.
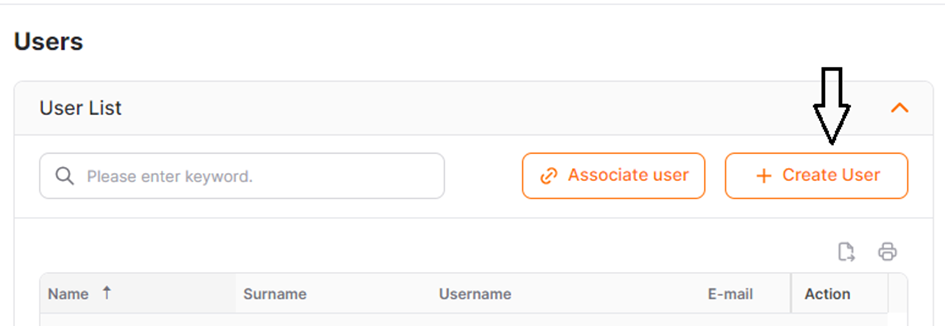
Click the Create Supplier button located in the upper right corner of the opened page to complete the supplier creation steps.

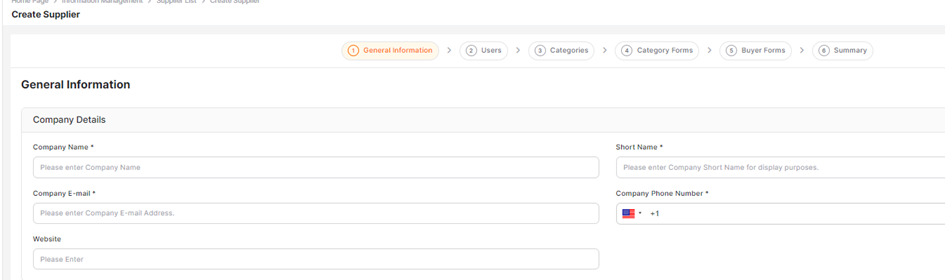
In the General Information page that will open, the fields marked with a star are mandatory:
Company Information:
Company Name: This is a mandatory field where the supplier company's name must be entered.
Short Name: This is a mandatory field where the short name of the supplier company must be entered.
Company Email Address: This is a mandatory field where the general email address of the supplier must be entered.
Company Phone Number: This is a mandatory field where the phone number of the supplier company must be entered.
Website: This is an optional field where the website information can be entered.
Address Details:
Country: This is a mandatory field where the country information of the company must be entered.
State: This is a mandatory field for countries that have states, where the state selection must be made.
City: This field lists the cities within the selected country.
Postal Code: This is an optional field where the postal code associated with the address can be entered.
Address: This is a mandatory field where the supplier's address information must be entered.

Detailed Information:
Company Type: This is a mandatory field where the supplier company type must be specified as either “Legal Entity” or “Natural Person”.
Note: If the company type is selected as “Legal Entity”, the tax office information becomes mandatory. For Natural Person companies, the tax office information is not required.
Note: You must select “Turkey” as the country in order to view the “Company Type” selection list.
Tax No: This is a mandatory field where the supplier’s tax identification number must be entered.
Trade Register Number: This is an optional field where the trade registry number information can be entered.
Establishment Date: This is an optional field where the date of incorporation registration can be entered.
DUNS Number: This is an optional field where the DUNS number can be entered.

Other Information:
Payment Terms: This is an optional field where you can select a default payment term from the payment terms defined for your company.
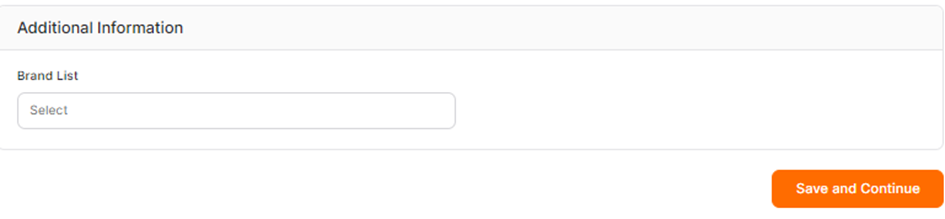
Brand List: This is an optional field where you can choose brands from the list of brands defined for your company.
ERP Code: This is an optional field where you can enter the ERP code for suppliers who have been set up for integration.
Fill in the required information and click the Save and Continue button located at the bottom right of the page.
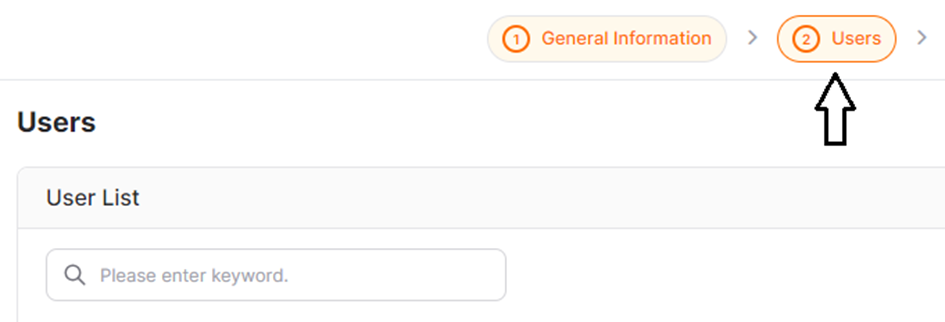
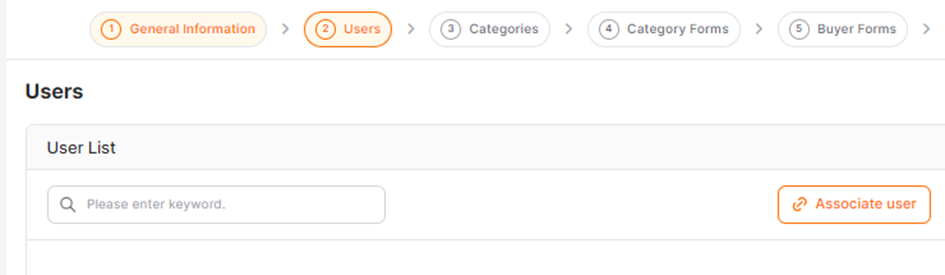
After completing the supplier registration, proceed to the second step, Users. It is important to create a user account for the supplier so they can log in to the system and participate in quote collection/e-auction processes. Suppliers without a user account cannot be invited to processes.
To create a user for the supplier, click on the Users tab.
To add a new user with an email address that is not already in Promena, click the Create User button.
In the window that opens, the fields marked with a star are mandatory and must be filled in. To save the entered information, click the Save button.
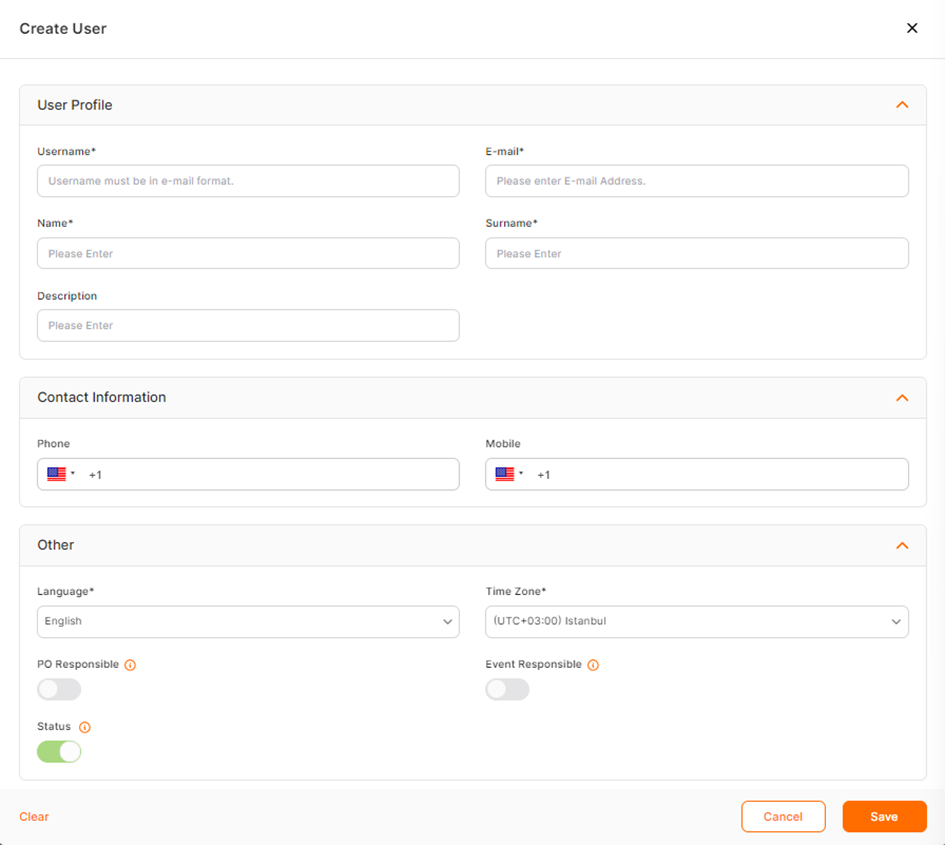
The information for the created user can be edited on the Users page. To update the user’s phone numbers, first and last name, click the file icon under the Action column. To manage the user’s order and process participation permissions, click the pencil icon to activate the relevant buttons.
PO Responsible: This is the field where the authority responsible for receiving orders for the supplier in quote collection or e-auction processes is selected.
Event Responsible: This is the field where the default supplier user for quote collection or e-auction processes is selected.
Status: If active, the user can log into the system. Users with a passive status cannot be listed and cannot log into the system for the relevant supplier.
To save the selections, click the Save button at the bottom right corner of the page. To cancel the selections, click the Cancel button.
For suppliers that are already registered for different buyer companies in the system, users must be associated with the records. To do this, click the Associate User button.
In the window that opens, the supplier users associated with the identical VAT number (VKN) are listed. Select the appropriate user and confirm the operation.
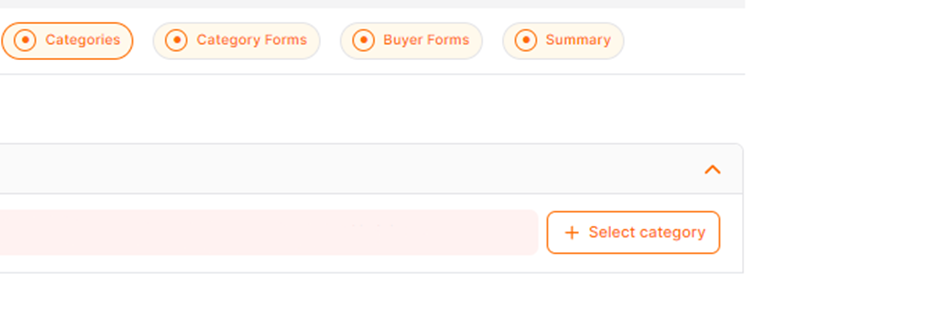
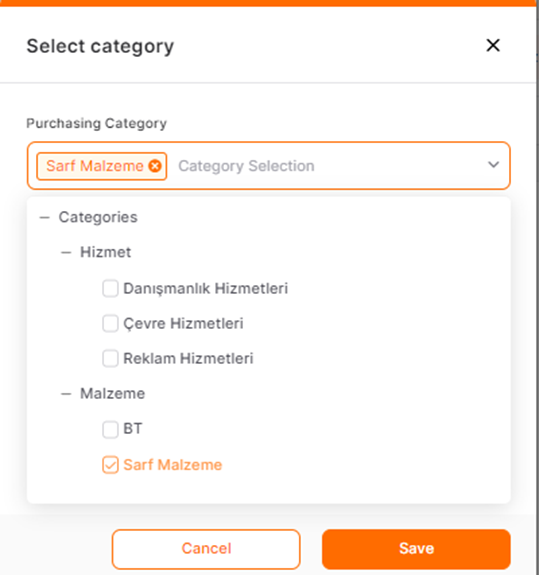
Click the Save and Continue button to proceed to the next step, Categories. To filter and view suppliers based on the purchasing categories defined for your company, click the Select Category button on the Categories pageand choose from the available categories.
Assigning categories to the suppliers is not a mandatory process for buyers.
Category selection can be performed by either the authorized users of the supplier or the users of the buyer company.
To send an invitation for suppliers to register themselves via the registration link, you can find detailed information at the following link: