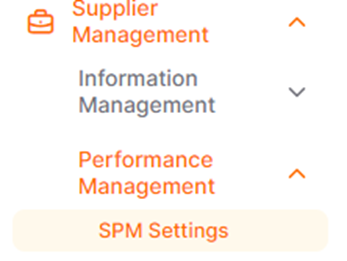
SPM Settings

There are parameters that must be defined in the Promena system by the buyer's authorized user in order for the suppliers to be evaluated. In order to create the infrastructure to be determined for the evaluation, the SPM Settings button must be clicked on the Performance Management menu under the Supplier Management title on the left side of the screen.

On the page that opens;

• Evaluation Periods: It is the page where the periods in which the supplier will be evaluated are arranged.

• KPI List: Expresses criteria for suppliers to evaluate.

• Classification: This is the area where the scores obtained from the criteria by which the suppliers are evaluated are classified.

Evaluations Periods

In order to determine the periods in which suppliers are to be evaluated, the Add button on the left side of the screen should be clicked. To view the available periods, transactions are made from the Period List page. In the window opened by clicking the Add button, the fields indicated with a red asterisk must be filled.

Evaluation Period Title: It is the field where the name of the period is entered.

Base Score: It is the field where the score that will correspond to 100% when calculating the results is entered. The supplier score is calculated based on the base score entered in this field.

Start Date: This is the field where the period start date is selected.

End Date: This is the field where the period end date is selected.

After completing the period information, the period definition process can be completed by clicking the Save button. All relevant periods can be viewed under the list.

Click the pen icon below the Action column on related row to make updates on the lines or click the trash can icon to delete a row.

KPI List

To add a new criterion or viewing existing criteria is done from the KPI List tab.

In order to determine the criteria that the suppliers are going to be evaluated, the Addbutton on the left side of the screen should be clicked. In the window opened by clicking the Add button, the fields indicated with a red asterisk must be filled.

· KPI Title: Indicates the name of the specified criteria.

· Code: Indicates the code given to the criterion. It is not a required field.

After completing the KPI List the process can be completed by clicking the Save button. The relevant criteria can be viewed under the list.

Click the pen icon below the Action column on related row to make updates on the lines or click the trash can icon to delete a row.

Classification

This is the page where the classification settings matching the score they will receive as a result of the evaluation of the suppliers are made.

If available, classifications can be displayed on the page that opens. To create a new classification, the Add button must be clicked. In the screen that opens after the Add button, the fields indicated with a red asterisk must be filled.

• Evaluation Period: It is the field where the periods registered under the company are listed and the period for which the classification will be valid is selected.

• Type: It is the field where the type of classification to be used is selected. In this field, Form, KPI and Question can be selected. More than one selection can be made.

• Min %: It is the minimum value at which the classification will be valid. The percentage value is entered.

• Max %: It is the maximum value at which the classification will be valid.

• Class Title: Enter the class definition where the supplier will be displayed in the specified range.

After the classification information is completed, the process can be completed by clicking the Save button. Related classes can be viewed under the list.

Click the pen icon below the Action column on related row to make updates on the lines or click the trash can icon to delete a row.