Create an RFI – Documents (Step 4)
Each RFI process is completed through 5 different stages. Completing the participant List page marks the third step of the process.
The Documents section is used for tracking documents related to the created process. Documents added to this section can be viewed by suppliers based on the decision of the buyer company or restricted from supplier access.
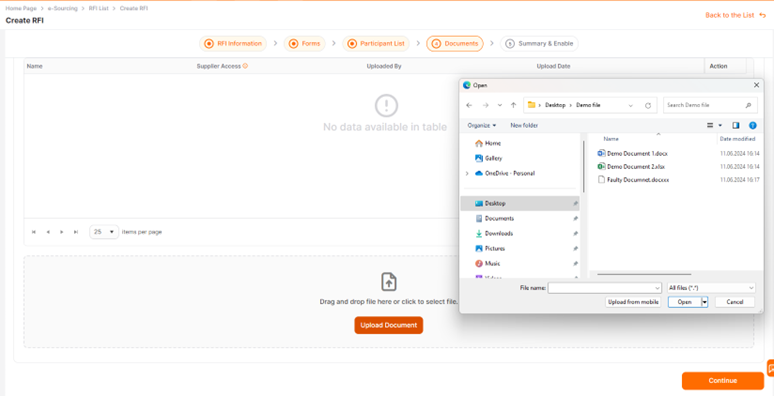
To add a document to the process, click on the Upload Document button and select a document from your computer.

*The document to be uploaded must be a maximum of 100 MB and in approved formats. If you try to upload a file with an unsupported size or format, an error message will be displayed in the right corner of the screen.
The uploaded document can be deleted during the setup phase by clicking the Delete icon in the Actions column.
The Download icon is used to download the uploaded document at this stage.
To navigate between the completed steps, you can click on the title of the relevant step on the "Steps Progress Bar."
To proceed to the next step, click the Continue button.
Please refer the link below for further information about the Summary page.
 Promena