Create an RFI – General Information (Step 1)
Each RFI process is completed through 5 different stages.
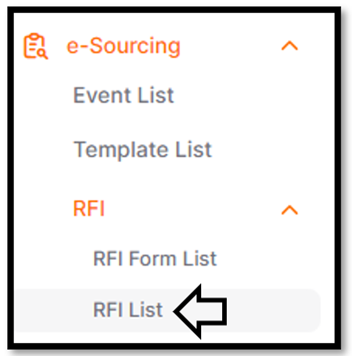
To create an RFI process, click on the RFI List menu under the RFI main heading. On the opened page, you can view setup steps. Follow all necessary steps in sequence to complete the process setup.
When you click on the RFI List menu under the RFI main heading, on the opened page, you should click on the Create RFI button located in the top right corner.
On the opened page, you can view 5 setup steps. Follow all necessary steps in sequence to complete the process setup.
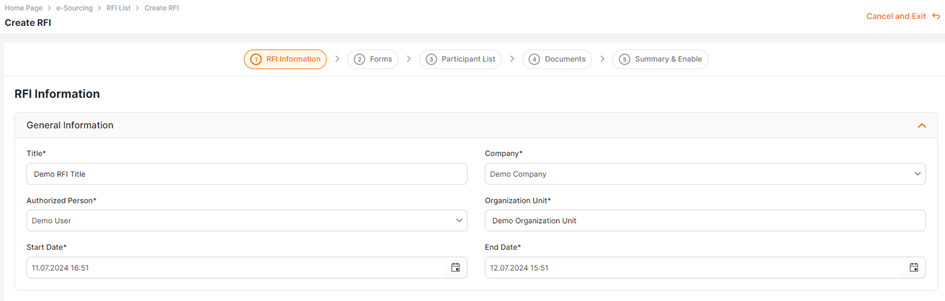
In the "RFI Information" section, fields that need to be filled out are marked with an asterisk. If any of these required fields are incomplete, you cannot proceed to the next step.
Title: It is the headline of the form topic. The title defined in the relevant field is used in listing screens and email notifications.
Company: The companies to which the user performing the operation is assigned are listed in this field. If users are authorized for only one company, only that company information will appear in the field, and the company will be selected by default.
Authorized Person: The information of the user performing the operation is automatically assigned to the relevant field. Users affiliated with the company are listed, and changes in authorization can be made.
Organizational Unit: The organizational unit of the company to which the user performing the operation is affiliated is automatically assigned.
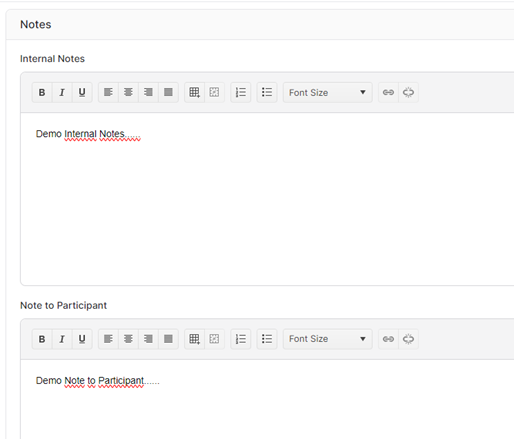
Internal Notes: This is the field where information can be entered to be shared with users affiliated with the company. Notes written in this field cannot be viewed by suppliers.
Note to Supplier: This is the field where information can be entered to be shared with suppliers. Notes written in this field can be viewed by suppliers.
End Date: This is the field where the date and time when the process will end are entered. You can enter the information manually or select it from the calendar icon.
After completing all the information, click on the Save and Continuebutton to proceed to the second step, which is the Forms section of the process.
Please refer the link below for further information about Forms phase.
 Promena