(Buyer) Create Quick RFQ - Documents
There are 4 short steps in creating a Quick RFQ event. The last step is to create the Documents page.
To continue to the Documents step, complete all required fields during the “Participant List” step andclick the Next button.
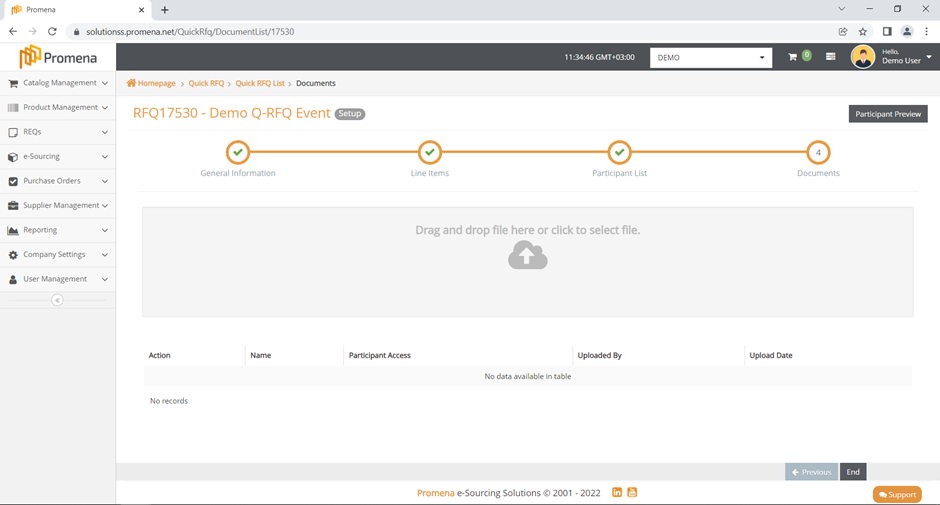
Documents Area is used to collect or share all the related documents of the event.
Documents added to the Documents Area can be viewed by suppliers or restricted from supplier access, depending on the decision of the Buyer company.
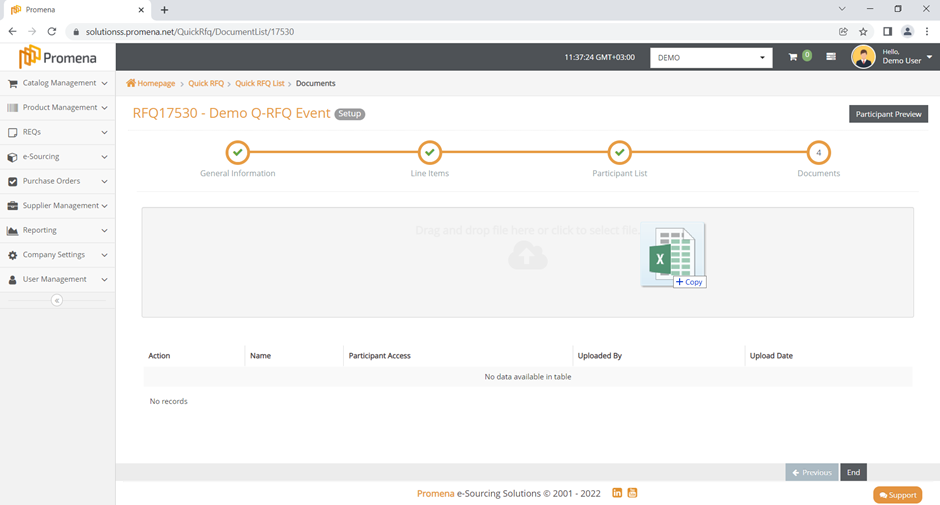
First Method to add a document into the event is "drag and drop" so you can add the relevant document by dragging it to the upload area.
The second method is the "Select file", you can download the relevant file from your device by clicking on the download area.
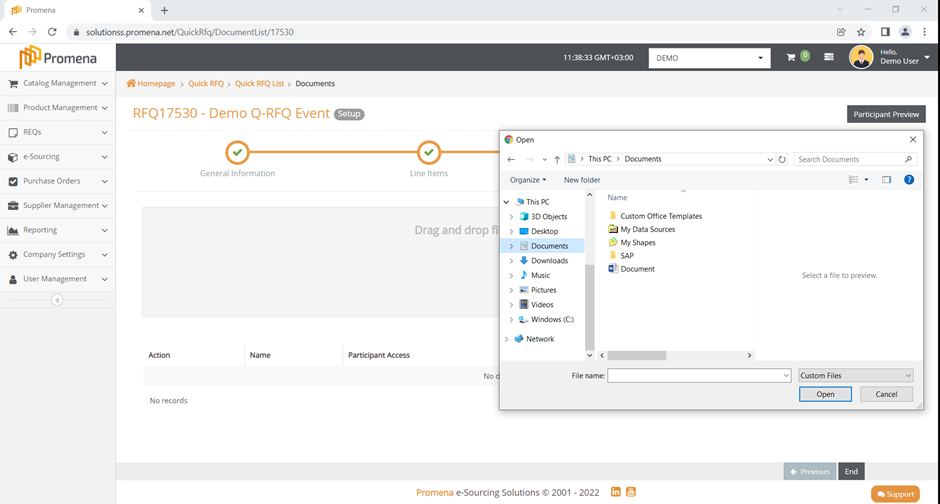
The document to be uploaded cannot be more than 100 MB in size and must be in an acceptable format. When you attempt to upload files of an invalid size or format, an error message appears in the upper right corner of the screen.
By default, uploaded documents are invisible to participants. If you require them to access a related document, don't forget to enable participant access. Otherwise, only users from the buyer company will be able to access the documents. Any participant will be able to access the uploaded document.
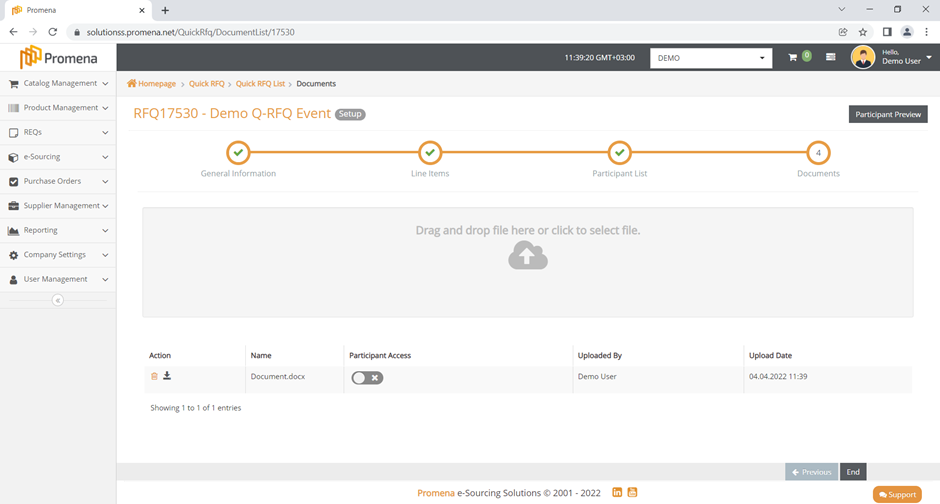
· The uploaded document can be deleted during the setup phase with the Delete icon under the Actions column.
· The Download icon is used to download the document at this phase.
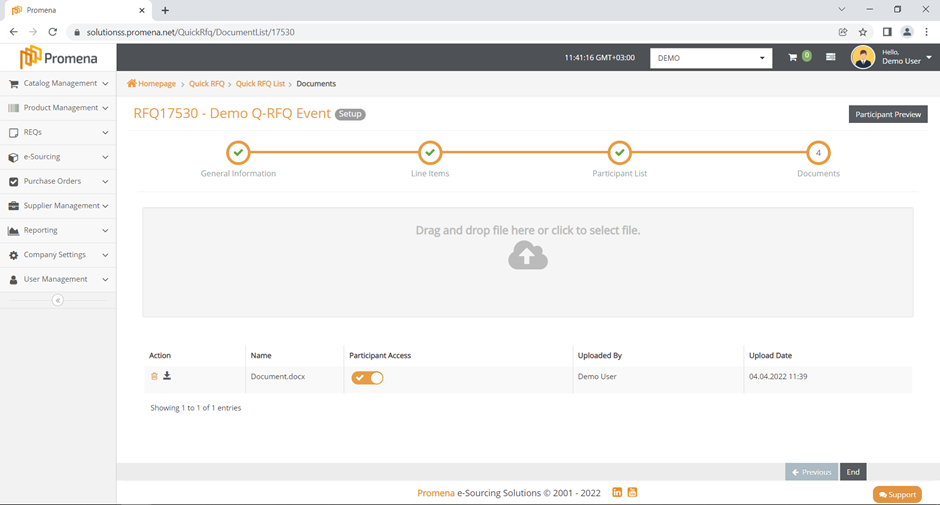
To return to the previous step, click the previous button. To switch between completed steps, click the title of the relevant step on the "Steps Line."
To end the setup process, click the End button.
- 289 words