Creating a Quick RFQ by Using REQ
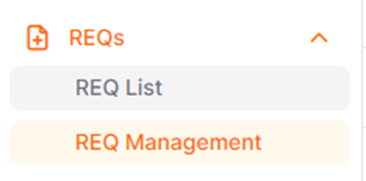
To create a Quick RFQ from a Demand, you should click on the REQ Management menu located under the REQs section in the left menu.
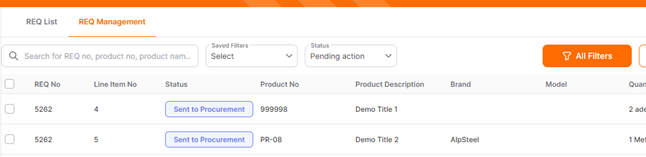
Under the REQ Management menu, requests in the "Sent to Purchase" status are displayed. From requests in the "Sent to Purchase" status, Quick RFQs can be created.
On the opened page, requests in the Pending Actionstatus, where no action has been taken yet, are listed by default.

Quick RFQs or PO created from requests can be viewed in the Processedstatus. Canceled requests are listed in the Canceled status.
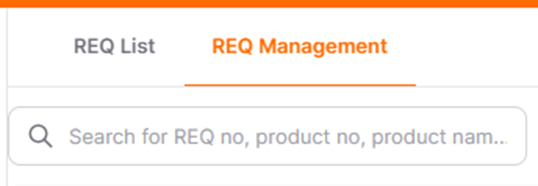
By clicking the "All Filters" button located in the right part of the filter row, detailed filtering can be applied to access the desired requests.
To edit and list different filters, after adding and editing conditions in the "All Filters" section, click the "Show Results" button. To save the created filter, click the "Create New Filter" icon.
To use previously created and saved filters, you can make a selection from the "Saved Filters" section.
To search by entering the request number or request title of the request you want to view, use the search field located in the top left corner of the screen.
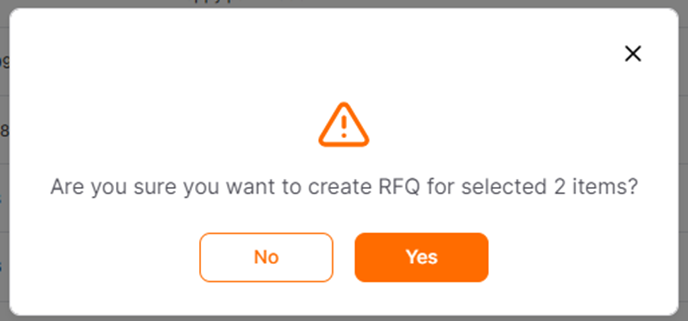
To create a Quick RFQ from a request, you should click on the Quick RFQ button after marking the checkbox located at the beginning of the row containing the filtered or displayed request on the page.

Upon encountering the warning on the popup page, confirming it allows you to create a Quick RFQ process in Setup status for the respective request item.
Created Quick RFQ can be accessed either by clicking the process number provided in the notification pop-up or via the Quick RFQ List menu.

Note: In Quick RFQ processes created from requests, only request items can be included, and within the item list, only the desired delivery date and note information can be updated; no other fields can be modified.
To get a detailed information about how to create a Quick RFQ, click the link below.
 Ortus
Ortus