Invoice
Purchase orders sent to the supplier can undergo an Invoice event upon receipt.
Adding an invoice can be performed through the PO Management, PO List (My POs) or PO Tracking pages, depending on the user's authorization and access rights.
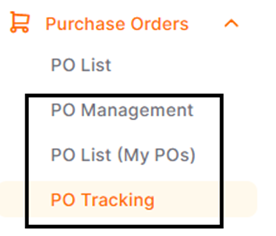
To perform add an invoice, you need to enter one of the PO Management, PO List or PO Tracking menus.
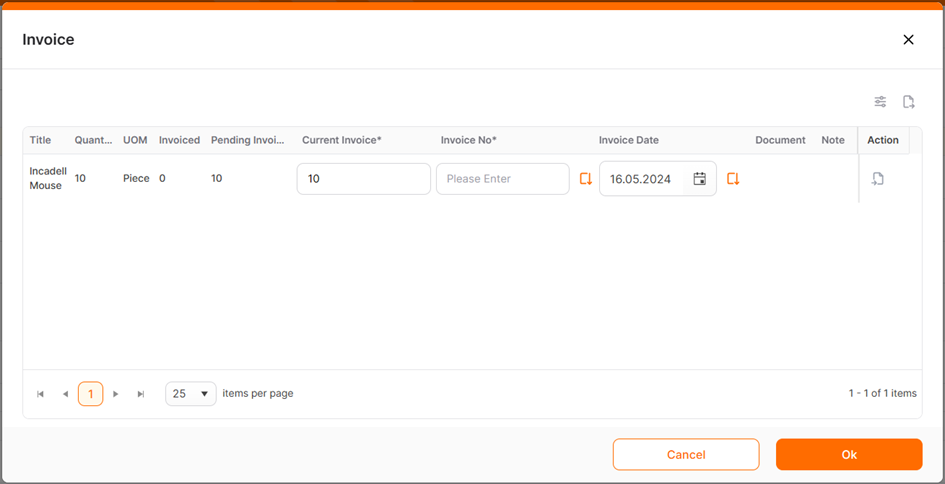
On the opened page, select the relevant purchase order by checking the boxes at the beginning of the purchase order rows, then click the Invoice button.

In the opened window:
The Current Invoice, Invoice No, and Invoice Date areas should be filled out. Optionally, you can add an invoice image by clicking the Adding Document button in the non-mandatory Document area. To save, click the OK button; to cancel, click the Cancel button.
The Current Invoice area comes filled by default, matching the purchase order quantity. If the current invoice does not match the purchase order quantity, it can be modified.
After completing the add an invoice, the entered quantity information can be viewed under the "Invoiced" column. These columns are located at the end of the list. To view the columns on the right side of the page, you may need to scroll horizontally.

To access detailed information regarding the add invoice, you can click on the PoD quantity under the "Invoiced" column.
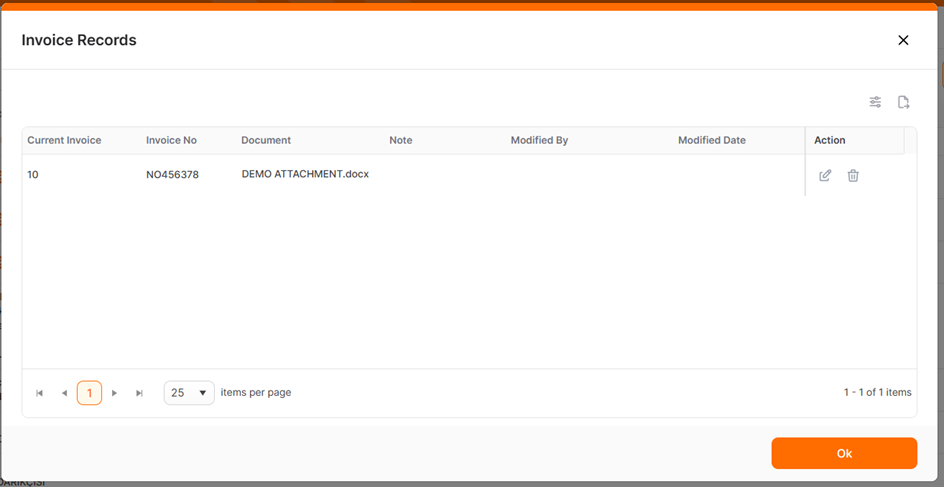
On the opened Invoice Records page, you can click the icons under the Action column to download the uploaded document, delete the document, edit the invoice record, and delete the invoice record.