RFI Form List
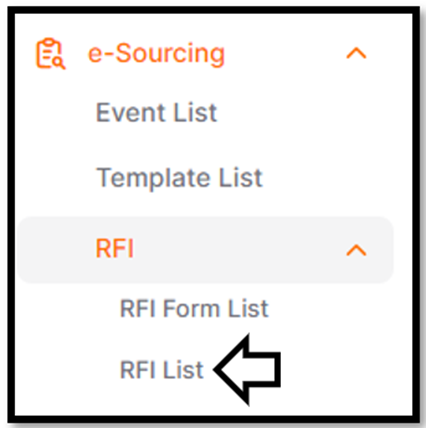
To view and track created RFIs, you should click on the "RFI List" under the e-Sourcing section located on the left side of the screen.
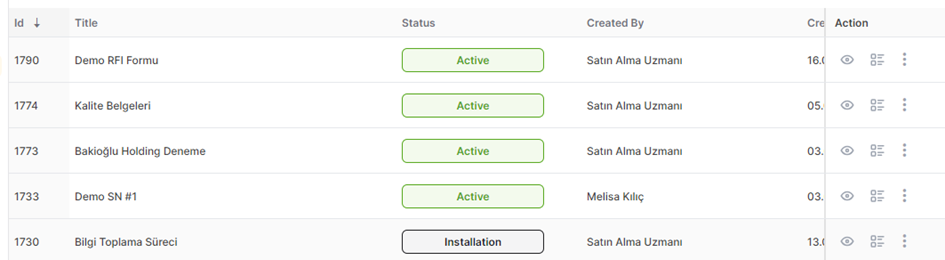
On the opened page, RFI processes are listed without any status differentiation.
On the top right corner of the screen, clicking the "All Filters" button allows access to detailed filter options. Filtering can be done based on fields such as Process ID, title, and responsible person.
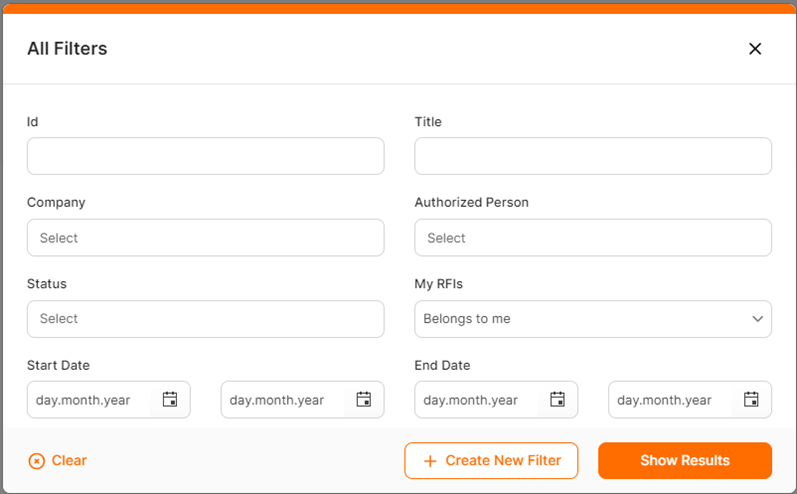
In the "All Filters" section, filters created can be saved for later use using the "Create New Filter" button.

Please refer the link below for further information about creating an RFI event.
Create an RFI – General Information (Step 1)
Create an RFI – General Information (Step 1)An RFI event is created through four initial steps. General Information part is the first step of the process. To create an RFI, click the Create RFI button located below RFI in e-Sourcing title. In the page, rows that are mandatory to fill
 Promena