(Buyer) Contact – Purchase Order
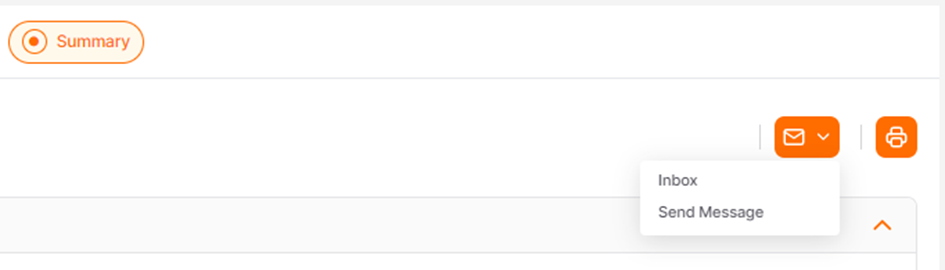
The messaging feature for orders is located on the Summary page of the relevant order.

The message box is located at the top right of the "Summary" page. It offers two options: "Inbox" and "Send Message."
When the "Send Message" option is clicked, fill in the required fields on the opened page and click the "Send" button. To cancel the process and return to the "Summary" page, click the "Cancel" button.
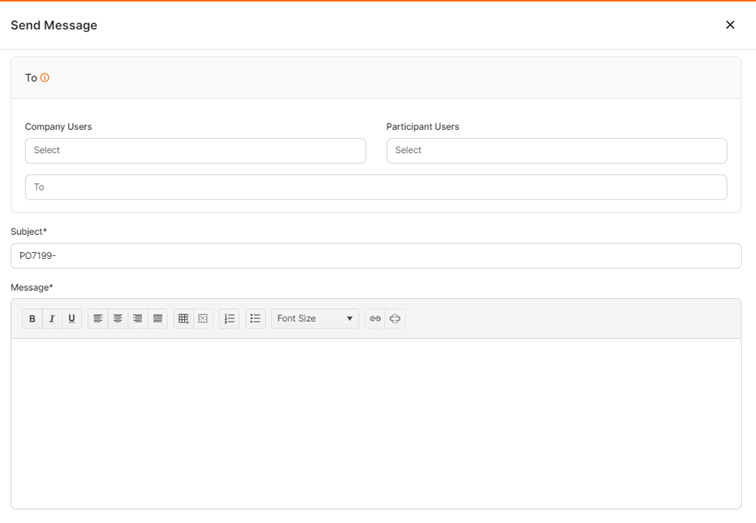
To: This is the area where the distribution list for the message is determined. The message is sent individually to the users on the distribution list, and the information of other users is not shared. selections are made from users defined in the system, and up to 200 users can be sent in a single instance.
To add new users, selections are made from the Company Users and Supplier Users areas according to the needs. In the Supplier Users area, only the relevant authorized user will be displayed, as there is only one user and one authority for the order.
Multiple users can be added from the Company Users area. All added users will appear as individual entries in the "To" field. Users can be removed from the list using the x icon.
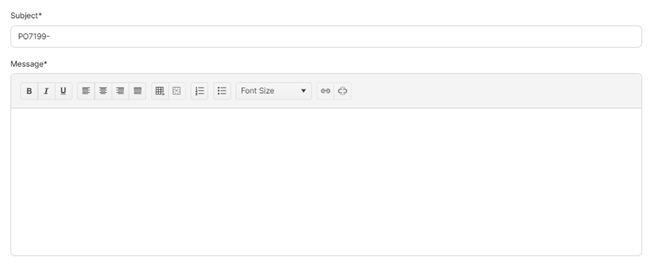
Subject: This is the area where the subject of the message is determined. The tender ID number is automatically included and cannot be deleted, but an additional title can be added next to it. Up to 100 characters can be entered.
Message: This is the area where the content of the message is determined. There is no character limit.
Editing and customization can be performed from the text area.
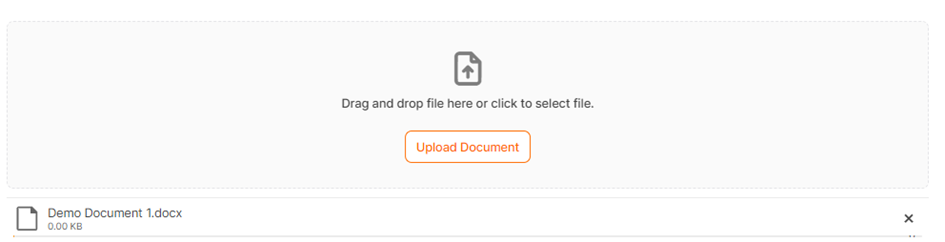
Attachments: To add a document to the message, click the "Add" button. If an attempt is made to attach a document in an unsuitable format or size, an error message will appear in the top right corner of the screen. The file size must be a maximum of 100 MB.
The added documents will appear in the relevant area with their file names. To delete an added document, click the x icon.
To complete the process, click the "Send" button, and a confirmation message "Your process has been successfully completed" will appear, redirecting you to the "Summary" page.
Messages related to the order can be viewed in the "Message Inbox" on the Summary page.

It is structured exactly like the General Message Inbox, but it is filtered by the tender and displays only the messages specific to the relevant tender.

For further information on sending a message in general, click the link below.
 Promena
For further information on sending a message in RFI events, click the link below.
PromenaFor further information on sending a message in Quick RFQ events, click the link below.
PromenaFor further information on sending a message in E-Auction events, click the link below.
Promena