(Buyer) Contact in General
By clicking on the "Message Box" under the "Communication" section in the left menu, you can access all messages created through the system.
The structure of the message box is designed similarly to the system's list screens.

· Message Direction: This is the section where the distinction between Sent and Received messages is indicated.
Sent messages are indicated with a red arrow, while received messages are indicated with a green arrow.
· From: This is the area where the sender information is displayed.
· To: This is the area where the recipients of the message are displayed. If the message is sent to multiple users, the corresponding number can be clicked to view the details.
In the relevant fields, the company title is displayed along with the company short name in parentheses.
· Subject: This is the area where the subject of the message is displayed.
· Date: This is the area where the date of the message is displayed.
· Action: By clicking the Details icon, you can access the message content. The envelope icon is used to mark the message as read or unread. The Reply icon allows you to reply to the message without opening its content.
On the message detail page;
· Direct: It is used to send the relevant message along with its content to another system user.
· Print: It is used to print the page with the current view.
· Reply: It is used to reply to the relevant message.
When the reply action is clicked, a new message can be created and sent in response to the relevant message on the opened page. Since the reply action will be related to the relevant message and will only be made with the user who sent the message, the To and Subject fields cannot be updated.
The correspondence history is displayed in the section at the bottom of the page.
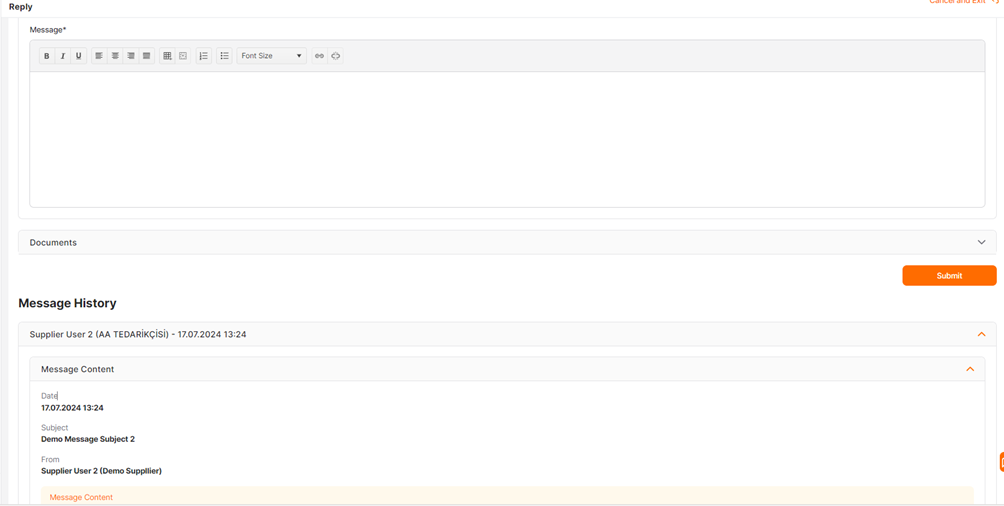
* The sent message will be in the first row, and the "Replied and Forwarded" mark will automatically appear next to the processed message.

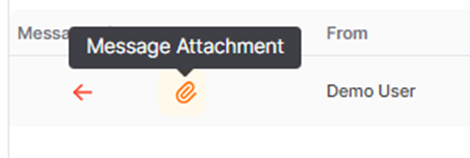
· Attachment: If there is an attachment in the message, it is indicated with a "paperclip" icon.
· Date: The latest received message is displayed at the top, and reverse sorting is also possible in this area.
Messages in the inbox are displayed according to the selections made in the Filter Area to meet the needs.
· Search Field: Search is performed from this area based on the name and surname information in the From / To field and the keyword in the subject field. This area must be at least 4 characters long.
· Searching Based on Supplier: It is the area where a search is performed based on the short name of the suppliers to whom the message was sent. To reset the search or select all, the "Search by Supplier" option should be selected.
· Message Direction: It is used to filter by Received or Sent. To reset the search or select all, the "Select Message Direction" option should be chosen.
· Message Status: It is used to filter by Read or Unread. To reset the search or select all, the "Select Message Status" option should be chosen.
Another way to access the inbox is through the envelope icon located at the top right of the page. The number next to the envelope icon represents the "Number of Unread Messages."

Creating a New Message
To create a new message from the inbox, click the "New Message" button located at the top right.

On the new page that opens, fill in the relevant and required fields and click the "Send" button to complete the sending process. To cancel and return to the "Inbox," click the "Cancel and Exit" button.
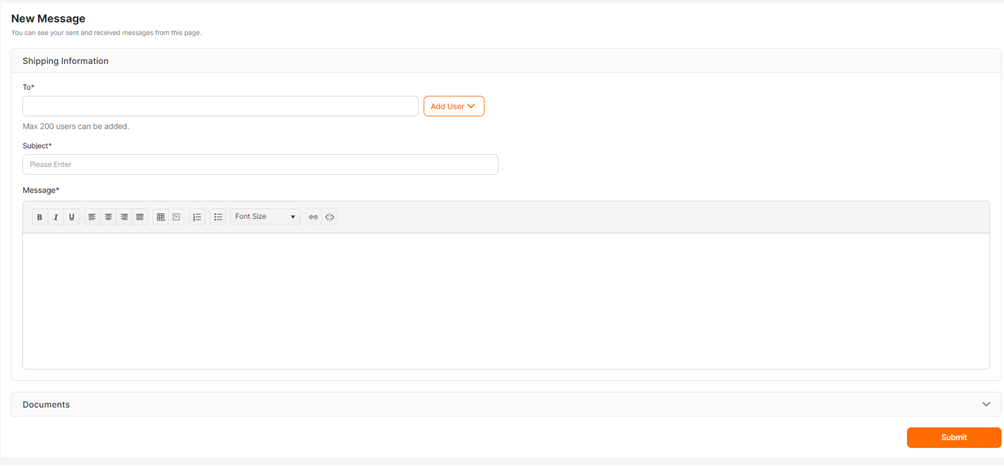
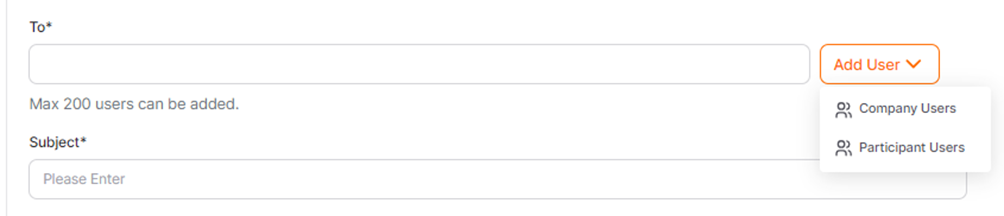
To: This is the area where the distribution list for the message is determined. The message is sent individually to the users on the distribution list, and the information of other users is not shared.
Users from those defined in the system can be selected, and up to 200 users can be sent in a single instance.
To add a new user, click the "Add User" button. To search for users, first select either Company Users or Supplier Users. Selections can be made from both lists.
To send messages to Company Users, you can use the filter fields for First Name, Last Name, or Organizational Unit in the pop-up window.
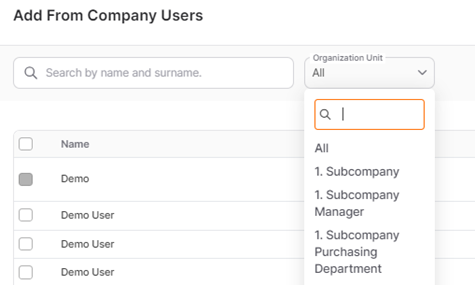
To add the selected users, click the "Save" button. To add users and use a new filter selection, click "Save and Add New." To cancel and exit, click the "Cancel" button.
The user performing the activity cannot add himself/herself as a receiver.
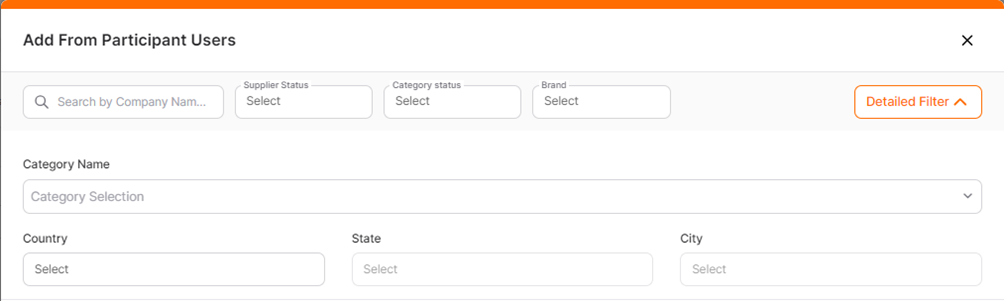
To send messages to Supplier Users, selections can be made according to the Detailed Filter area located on the left side of the pop-up window.
· Search Field: Allows you to search by entering the supplier's name and tax number.
· Supplier Status Field: Allows you to search according to the supplier status structure created for your company.
· Categories Field: Allows you to search according to the category list defined for your company. The Categories Field enables you to manually enter data and select from the defined category tree.
· Category Status Field: Allows you to search based on the status of the category or categories to which the relevant supplier belongs.
· Country/State/City Selection Field: Used to search based on the region.
Brand Field: Brands created for the products of recipient companies can be assigned to suppliers. By using the brand filter and entering the brand name, you can list the suppliers associated with that brand.
After making selections or entries in all fields, the "Search" button should be clicked. Multiple filters can be applied simultaneously.
In the Supplier Information area, the company name, supplier status information, address details, and categories with their status are displayed. In the Users area, users associated with the supplier record are listed.
The user or users to whom the message will be sent should be selected from this area. Multiple supplier users can be selected at once.
To add the selected users, click the "Save" button. To cancel and exit, click the "Cancel" button.
All added users will appear as individual entries in the "To" field. Users can be removed from the list using the x icon.
Subject: This is the area where the subject of the message is defined. Up to 100 characters can be entered.
Message: This is the area where the content of the message is defined. There is no character limit.
Editing and customization can be performed from the text area.
Documents: To attach a document to the message, click the "Add" button. If an inappropriate format or size of the document is attempted to be added, an error message will appear in the top right corner of the screen. The file size must be a maximum of 100 MB.

Attached documents will appear in the relevant area with their file names. To delete an attached document, click the x icon.
When the "Send" button is clicked to complete the process, a notification message saying "Your process has been completed successfully" will appear, and you will be redirected to the Inbox page.
The most recent action will be displayed at the top of the list. Users to whom the message was sent will also receive a notification message.
An informational email is automatically sent by the system to the selected users in the To field. The content of the informational email includes the From and Subject fields, and it contains a "Go to Message" button that directs users to the message details in the system's Inbox.

Under the general messaging feature, creating new messages is the responsibility of recipient users. Supplier users cannot create new messages through the system under the general messaging feature but can reply to messages.
For further information on sending a message in RFI events, click the link below.
 Promena
For further information on sending a message in Quick RFQ events, click the link below.
PromenaFor further information on sending a message in E-Auction events, click the link below.
PromenaFor further information on sending a message in POs, click the link below.
Promena